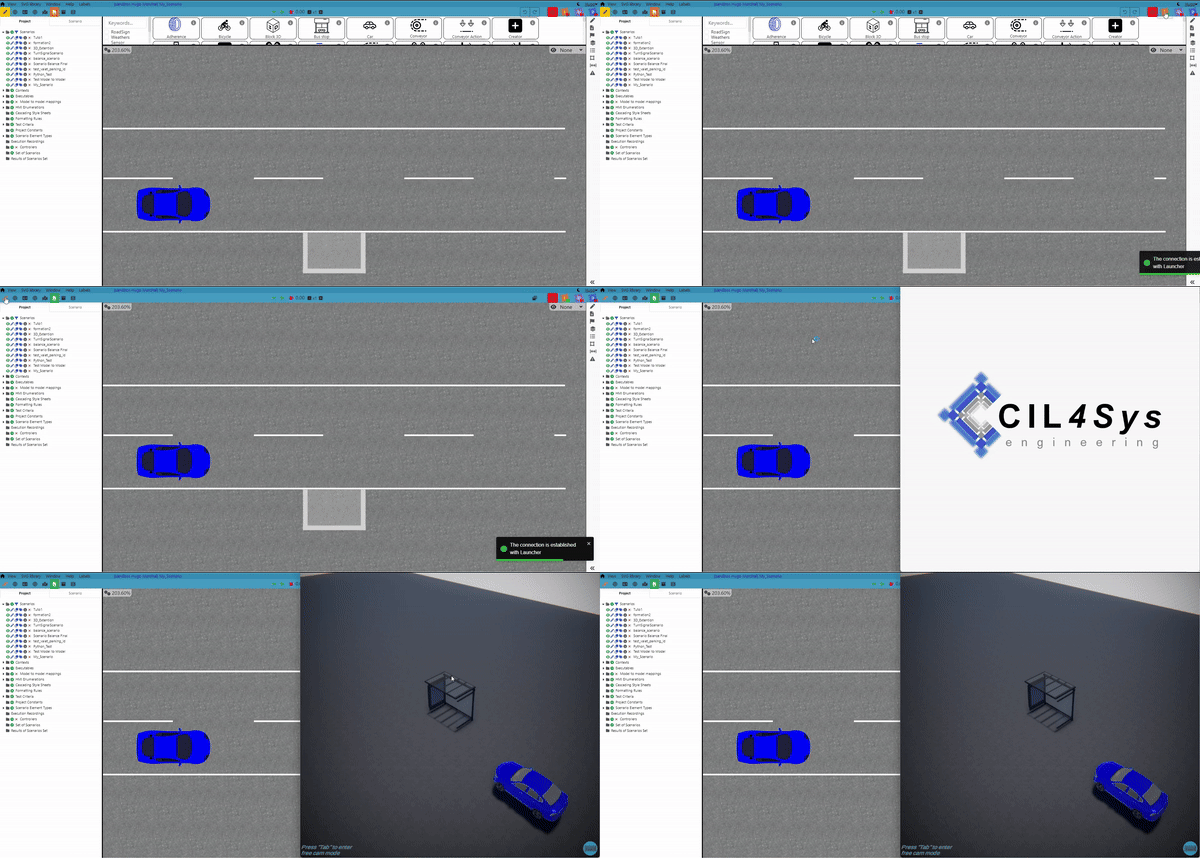
Launch & Connect
METHODE 1
Launch
Run "3DExtension.exe" 

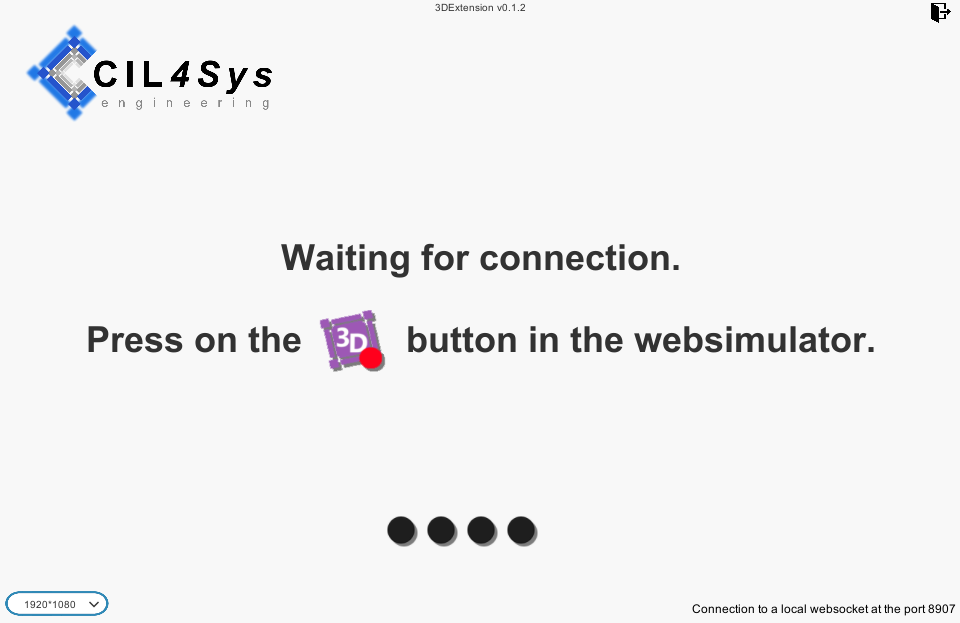
On this page you will be able to find the current 3D Extension's version you are using at the top of the screen and also the local websocket port used by 3D Extension 
The first time launching 3DExtension.exe, you might have a warning. Click on "More Info" then on "Run anyway".

Version Warnings
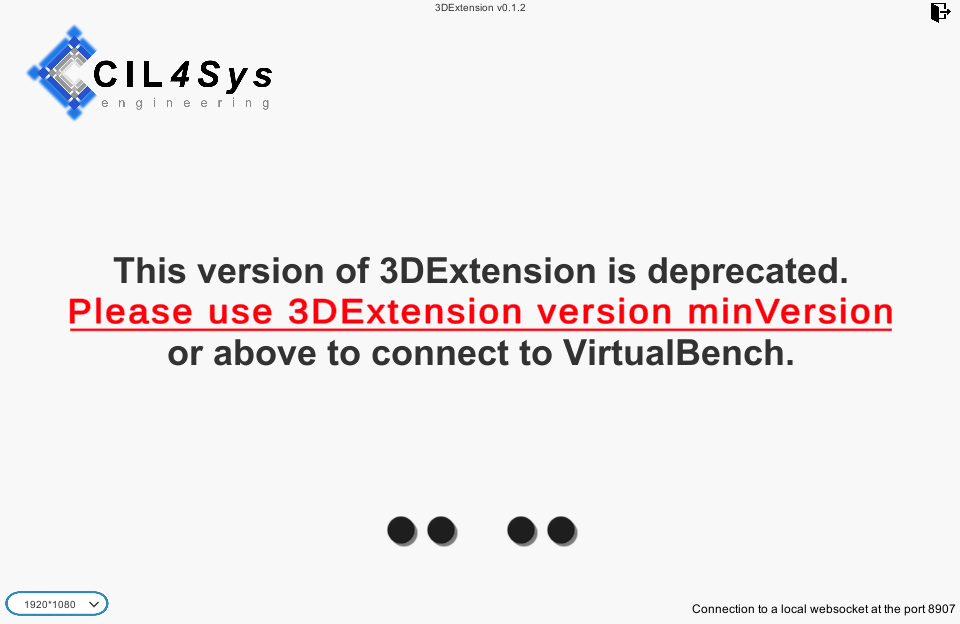
On the first page you can come across to this messages :
-

Is a link to inform you of new versions and allows you to directly go to a download page.
-

Is a link to inform you that the version you are currently running is not compatible with Virtual Bench and allows you to directly go to a download page.
Connect
After that, you can follow the instruction indicated on the 3D Extension 
First, go to Virtual Bench and click on the 
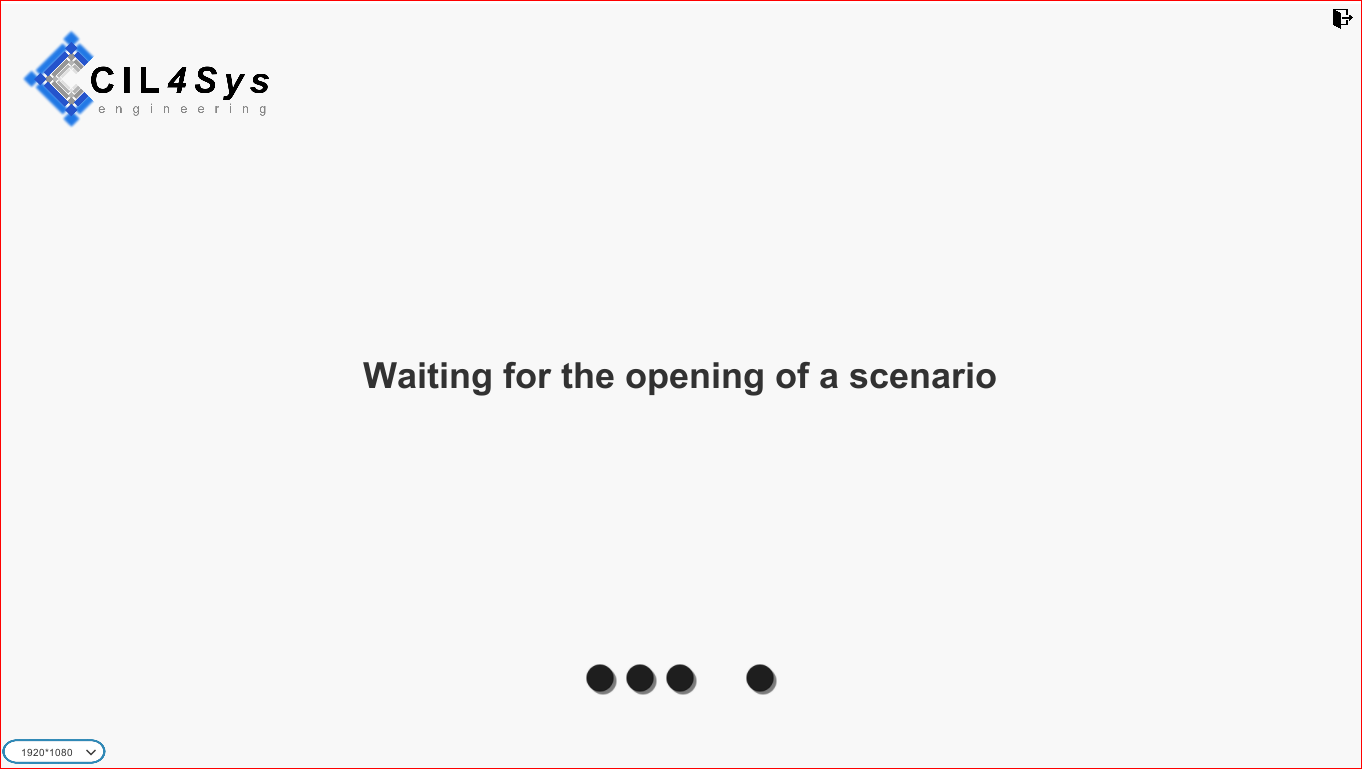
If no scenario is currently open, the 3D Extension will wait for you to open one.
After opening a scenario, you will be able to see your Scene 2D in a 3D world.
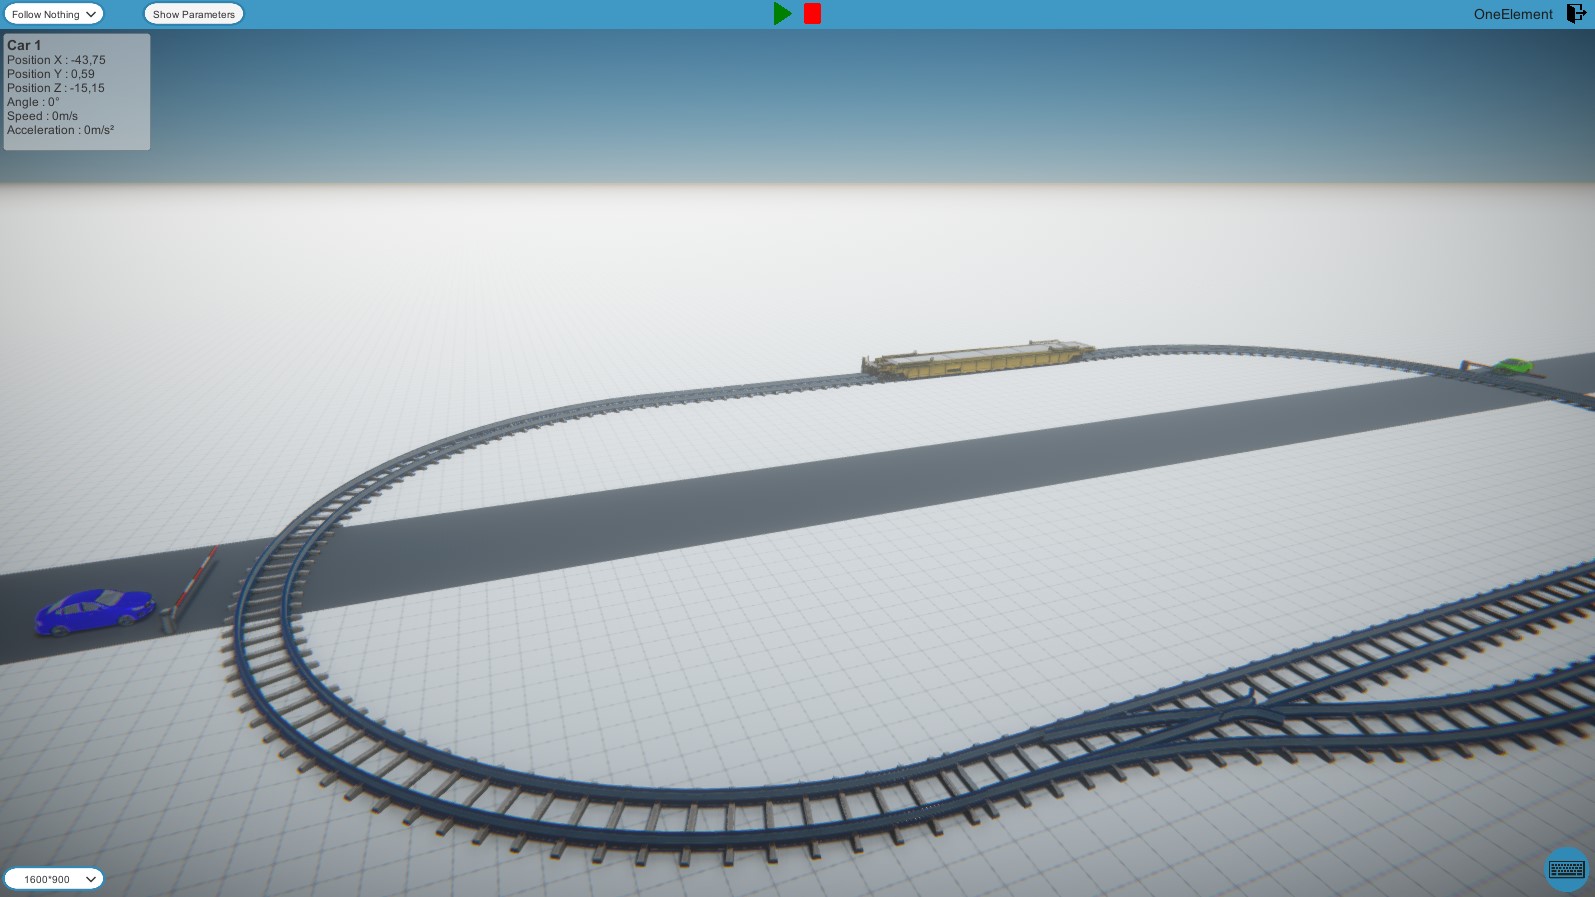
You don't need to close the 3D Extension to change the scenario. But when changing scenario, the 3D Extension might not have time to delete the object from the last scenario, fusing both scenarios in 3D. You just need to close the 3D Extension and launch it again to fix this.
If you don't have a 2D scene or if it is empty, the connection will still be established. But the 3D scene will be empty.
If the version you are currently running is not compatible with Virtual Bench, a new menu with a link to or downloads will pop-up and the connection will be cut.
METHODE 2
Connection Configuration
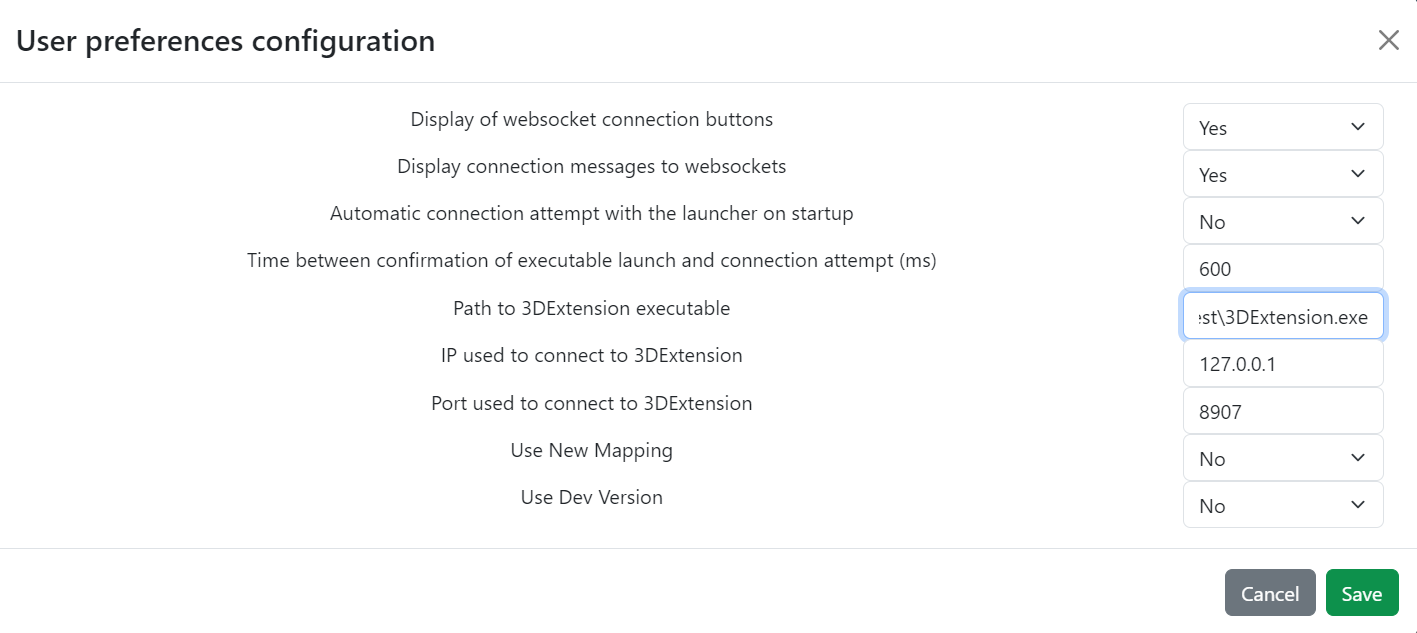
The alternative method to connect and launch 3DExtension involves first specifying the path to the 3DExtension executable, as well as the port used for the connection. Additionally, you can specify the IP address, which defaults to "127.0.0.1".
To do this:
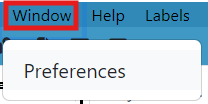
- Click on Window > Preferences
Next, you can specify the path to your .exe file, the IP address, and the port you wish to use:
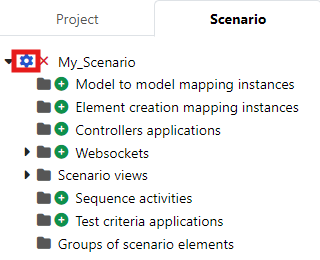
Then, go to Scenario > click on the cog  :
:
Once the "Edit Scenario Parameters" window appears, go to "Scenario Uses 3DExtension" and select "Yes":
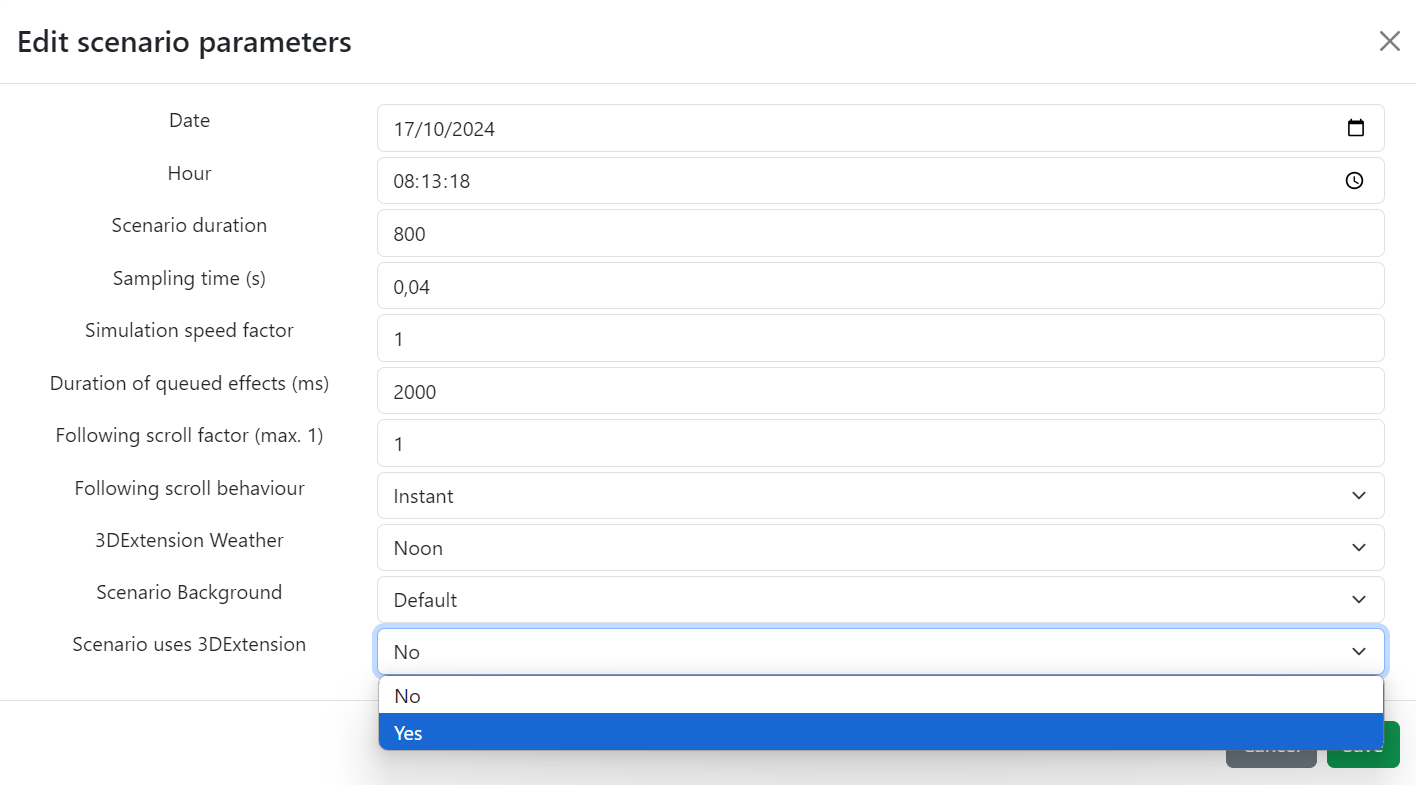
Then click on "Save".
Launch & Connect
Now, you just need to connect your Launcher, exit edit mode, and 3DExtension should open, as shown below.
