Generate a custom document from a model
PRESENTATION
This tutorial is based on the previous tutorial: Include a matlab activity in a model.
Prerequisites
Retrieve the model of the Tutorial 6 (File > New > Example > Sim4Sys Model Examples > Sim4Sys – Automotive > Tutorial 6).
In this tutorial, we will learn how to use document templates and modify them in order to generate the document we want to get from the model. Please download the input material here. Unzip the folder and put the content into you project.
News skills that you will acquire
On Designer:
- Create a Document template:
- manage the ordering of titles, paragraphs, etc.,
- change the cover page,
- add references,
- Reuse an existing Document template,
- Generate a document.
Duration
2h
DOCUMENT GENERATION
Generate requirements
Before starting to choose which part we want in our document, we need to generate the requirements.
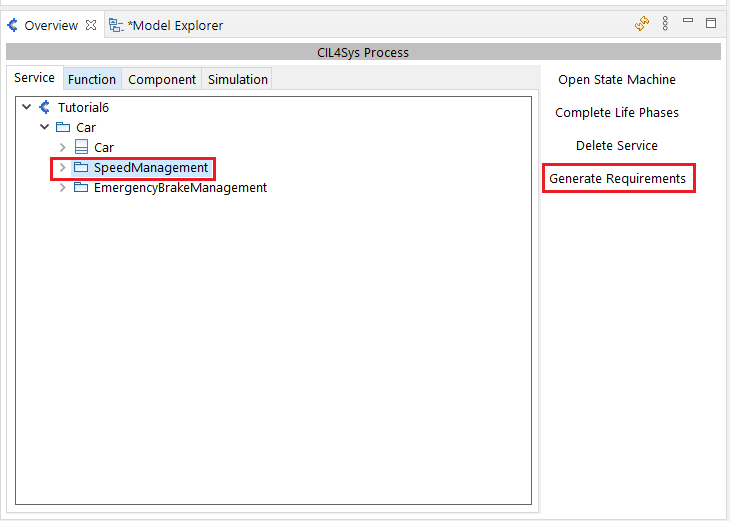
- Click on the service SpeedManagement then on Generate Requirements
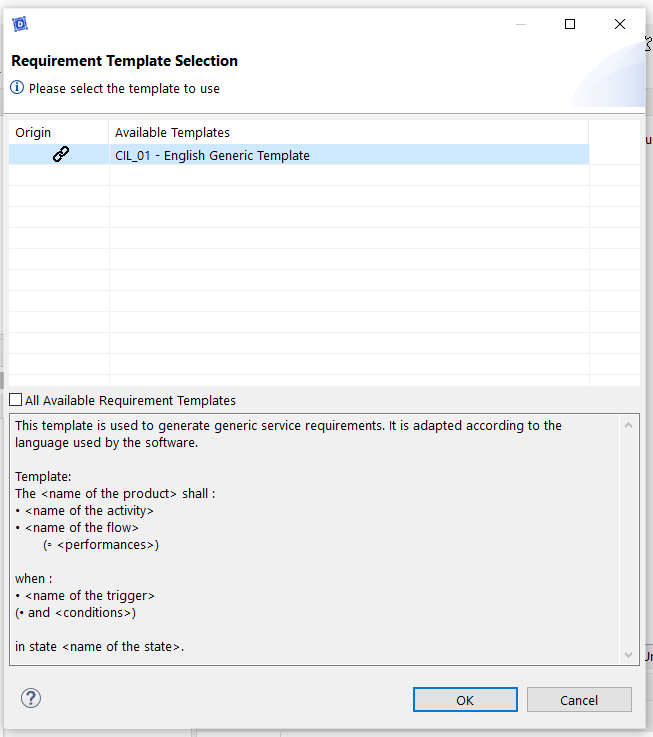
- Select the Template CIL_01 English Generic Template and click on OK
- Click on the service EmergencyBrakeManagement then on Generate Requirements
- Select the Template CIL_01 English Generic Template and click on OK
Update the document generation settings
In this part you can choose which part of the model will appear on the document generated.
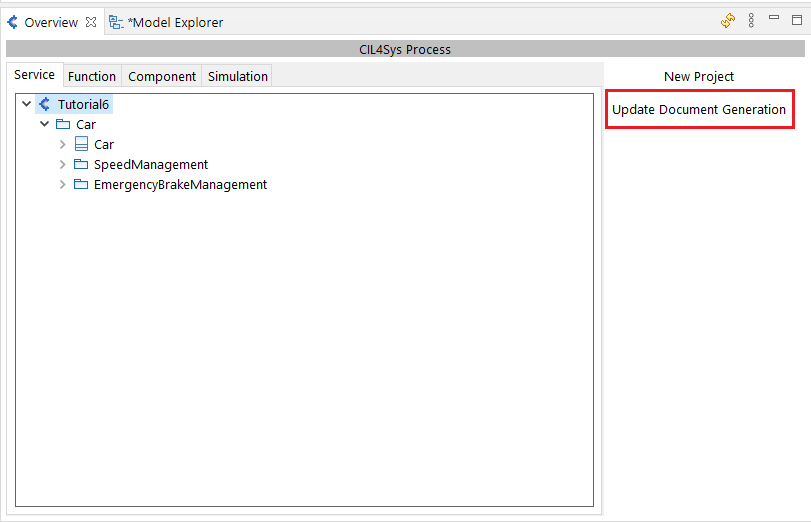
- Click on Project Name Tutorial6
- Click on Update document Generation
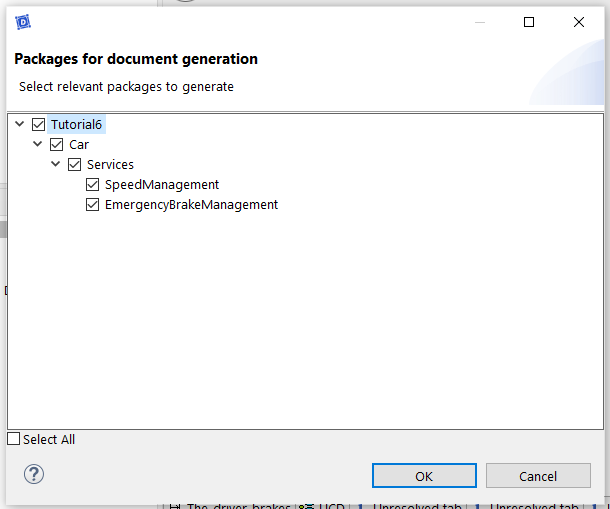
- Select the part you want to show in your document. In our case, we will select SpeedManagement and EmergencyBrakeManagement
Create a document template
- Go to the Model Explorer
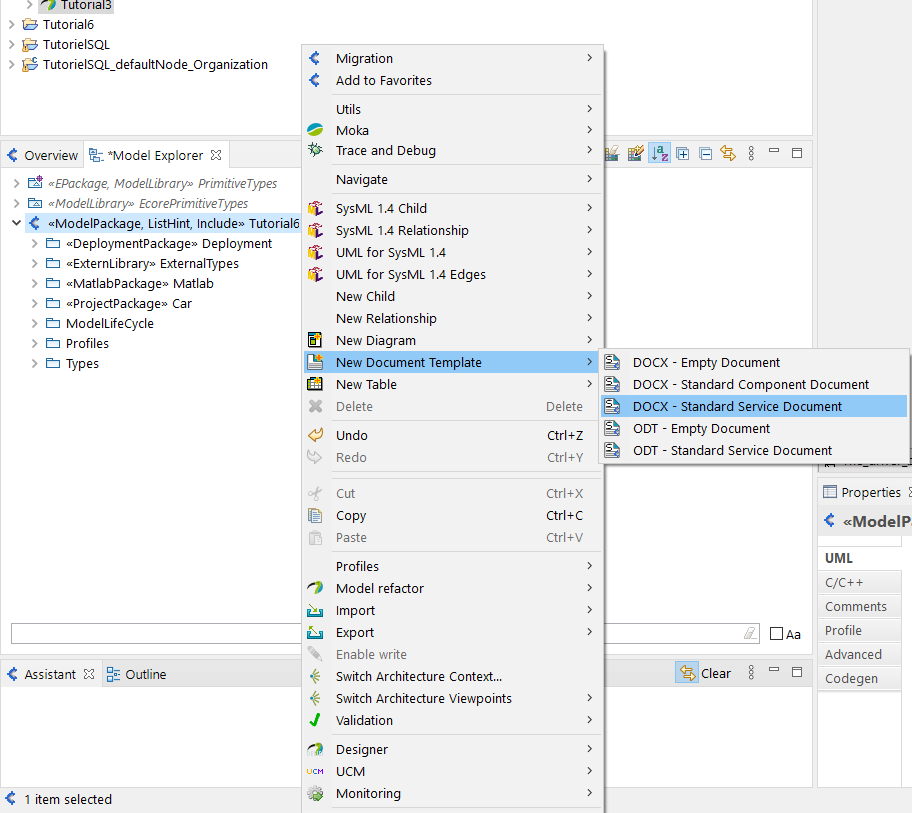
- Right click on the Model package > New Document Template > DOCX - Standard Service Document
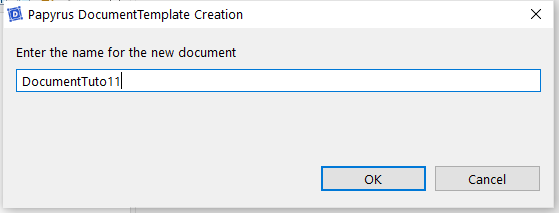
- Name the document as you want
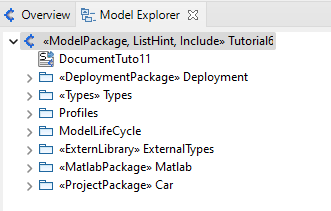
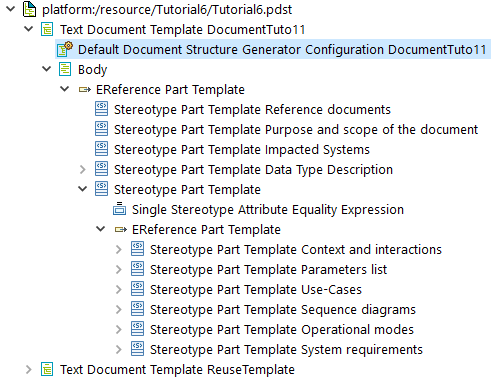
- When you open the document template, you will see :

If you do not see it double click on the document in the model explorer
Reuse a document template
If the template that you decided to use is not a standard template, you should :
- Go to the Model Explorer
- Right click on the Model package > New Document Template > DOCX - Empty Document

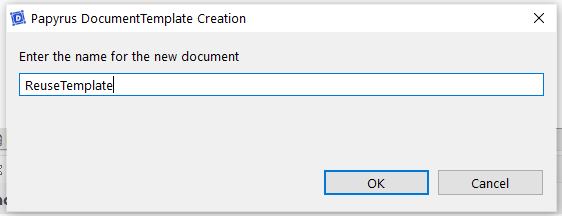
- Name the document as you want
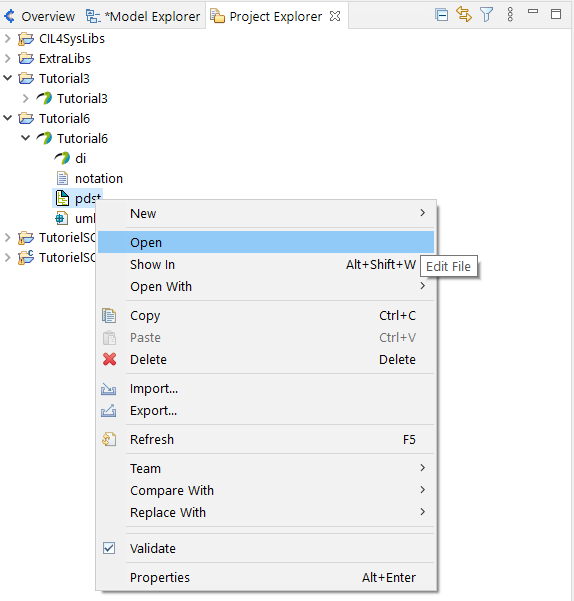
- Open pdst
- Project Explorer > pdst > Open
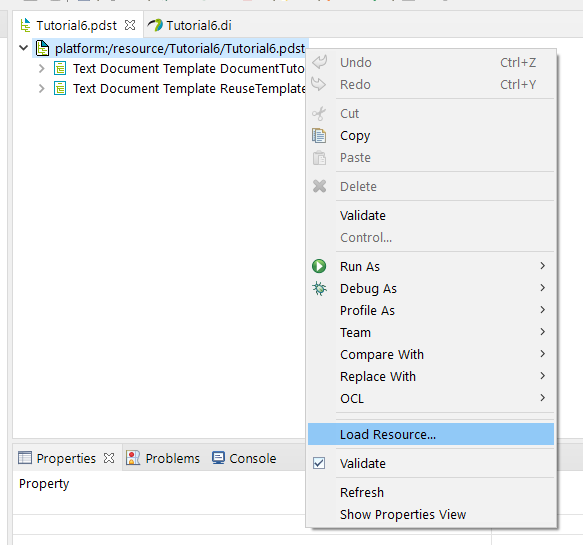
- Right click on platform:/resource/Tutorial6/Tutorial6.pdst and click on Load Ressources
-
If not done previously, unzip the downloaded zip folder in the Tutorial6 folder.
-
Go to Project explorer and press F5 to refresh the tab. You will see the DocTemplate.pdst file appears
-
Go to Browse Workspace > Tutorial6 > DocTemplate.pdst
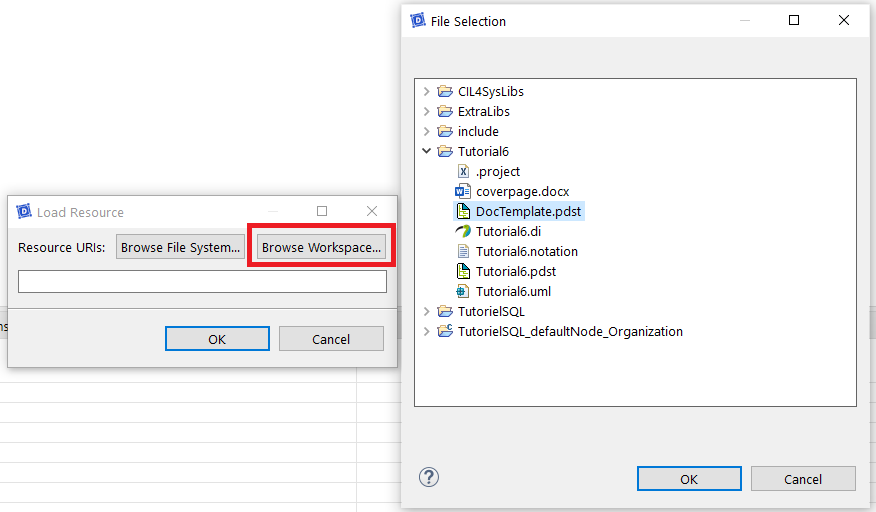
You will see the following path appearing:
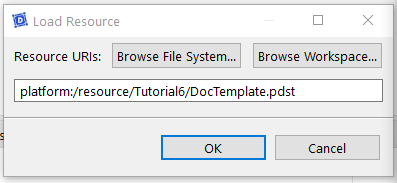
- You now see the DocTemplate in the tab. Right click on the EReference Part Template and click on copy.
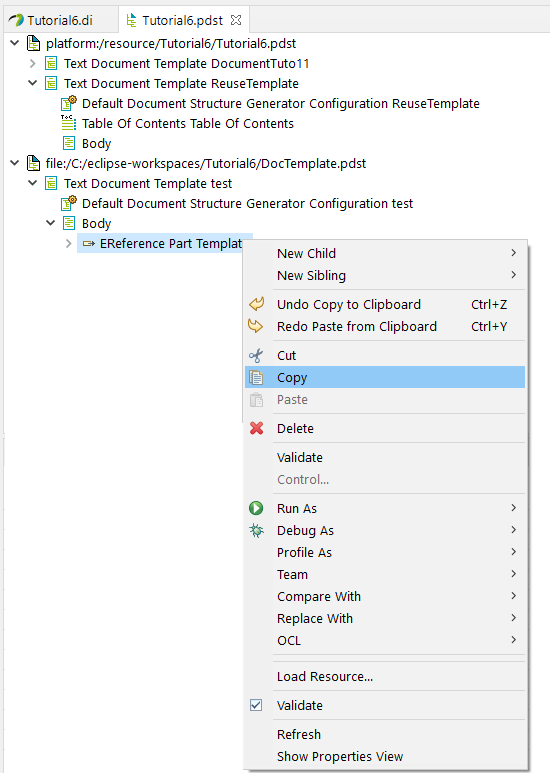
- Go back to the Text Document Template ReuseTemplate and paste it in the Body
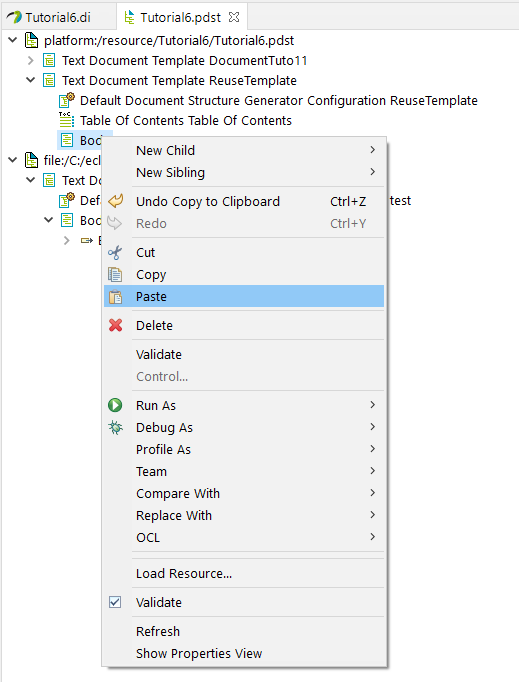
- Save it
- Close the tab
Generate a document
- Go to the Model Explorer
- Right click on the Text Document Template ReuseTemplate
- Click on Generate All(Structure + Docx)
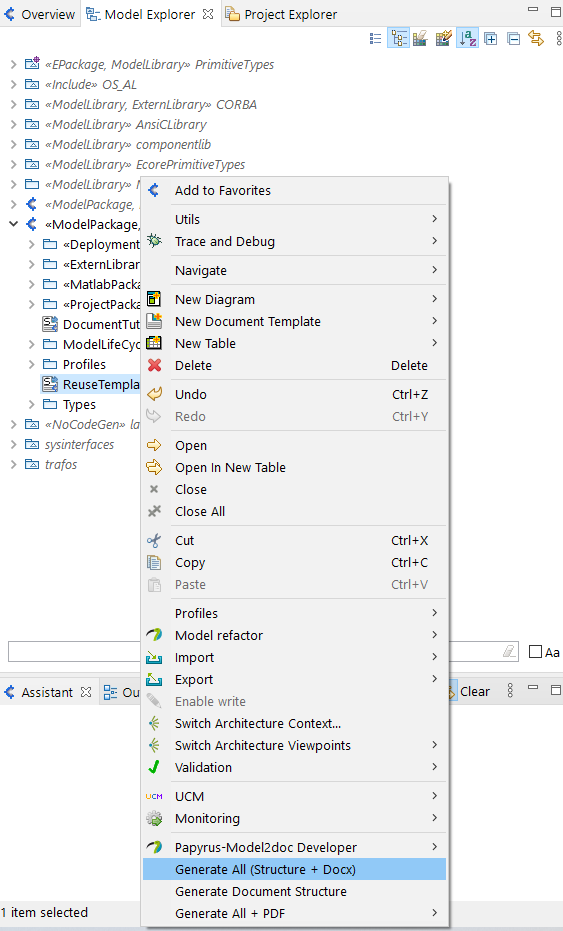
- A window appears. You can choose the version of your document.
- Go back to Project Explorer. You will see that the file appeared in the output folder
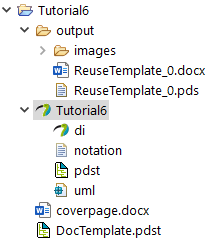
You can check it if you right click on ReuseTemplate_0.docx > Show In > System Explorer. Then, double click on the file in the system explorer.
Now at anytime of the tutorial, you can generate the document to check your work.
Modify the template
Change the cover page
- Open the coverpage.docx and modify it as you wish
- Rename it with an extension .dotx (it becomes a coverpage.dotx file)
- Go back to the Text Document Template on Designer
- Click on Default Document Structure Generator Configuration
- Change the Template File field into "platform:/resource/Tutorial6/coverpage.dotx"
To reference any file present in the workspace you can use the following path format : "platform:/resource/projectName/filePath"

Add a referenced document
- Go to Model Explorer
- Open the document template to edit
- In the Body of the Text Document Template right click on the Stereotype Part Template Reference documents > Insert File Template
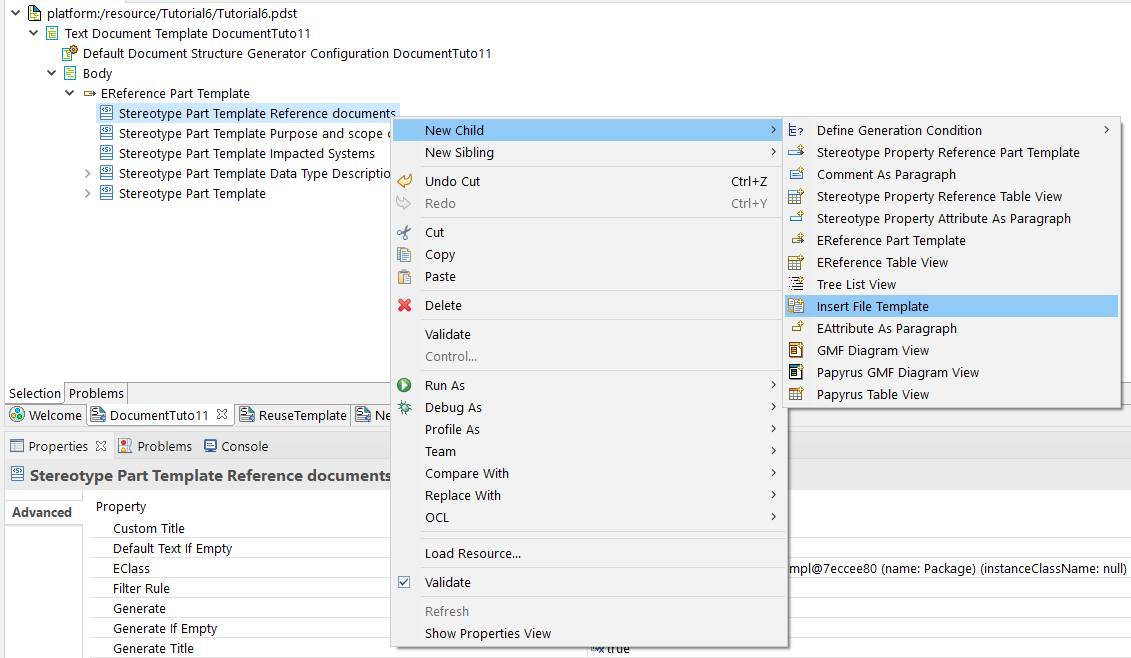
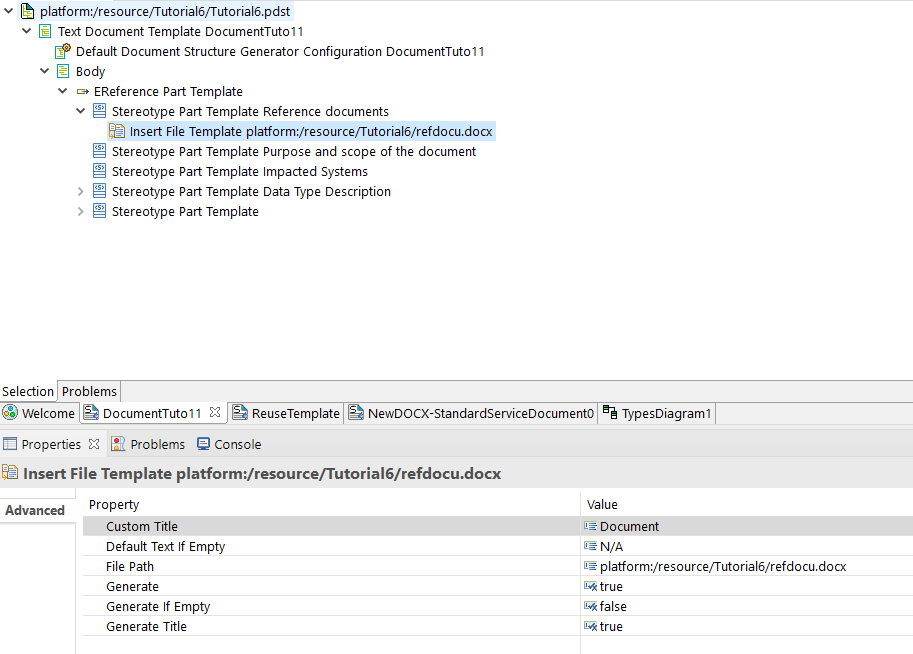
- In properties, add the path to the reference document. For example with the input document : "platform:/resource/Tutorial6/refdocu.docx". You can rename the part as you wish by filling the custom title field. Here, it is named "Document".
Rename titles
- Go to Model Explorer
- Open the document template to edit
- In the Body of the Text Document Template, you can change the properties of the part
- Click on the Stereotype Part Template Context and interactions
- In Properties, you can change the field Custom Title to change the title's name
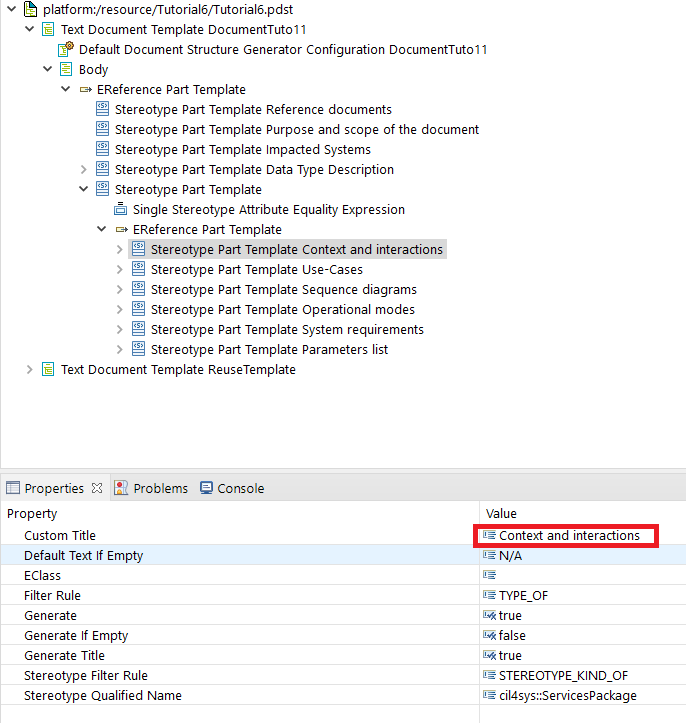
- Save it by pressing CTLR+S
Change parts order
-
Go to Model Explorer
-
Open the document template to edit
-
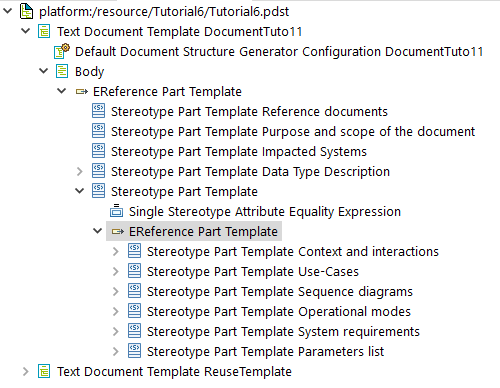
In the Body of the Text Document Template you can change the parts order by changing the Stereotype Part Template's order
-
Drag the Stereotype Part Template Parameter List and drop it before the Stereotype Part Template Use-Cases
-
Save it by pressing CTLR+S