How to connect to CANoe
PRESENTATION
The CANoe software from Vector is a software tool for testing and analyzing individual ECUs and entire ECU networks. Vector has developed a new freeware and open source software library. Vector's SILKit enables distributed simulation for automotive applications. For example, it facilitates the interconnection between CANoe and another component or application.
PREREQUISITES
You should have already installed Vector CANoe as well as Visual Studio Code.

- Click on Vector
- Click then on Support & Downloads
- Click on Download center
- Select Canoe in Product and then download CANoe Demo 17.

- Click on Visual Studio Code
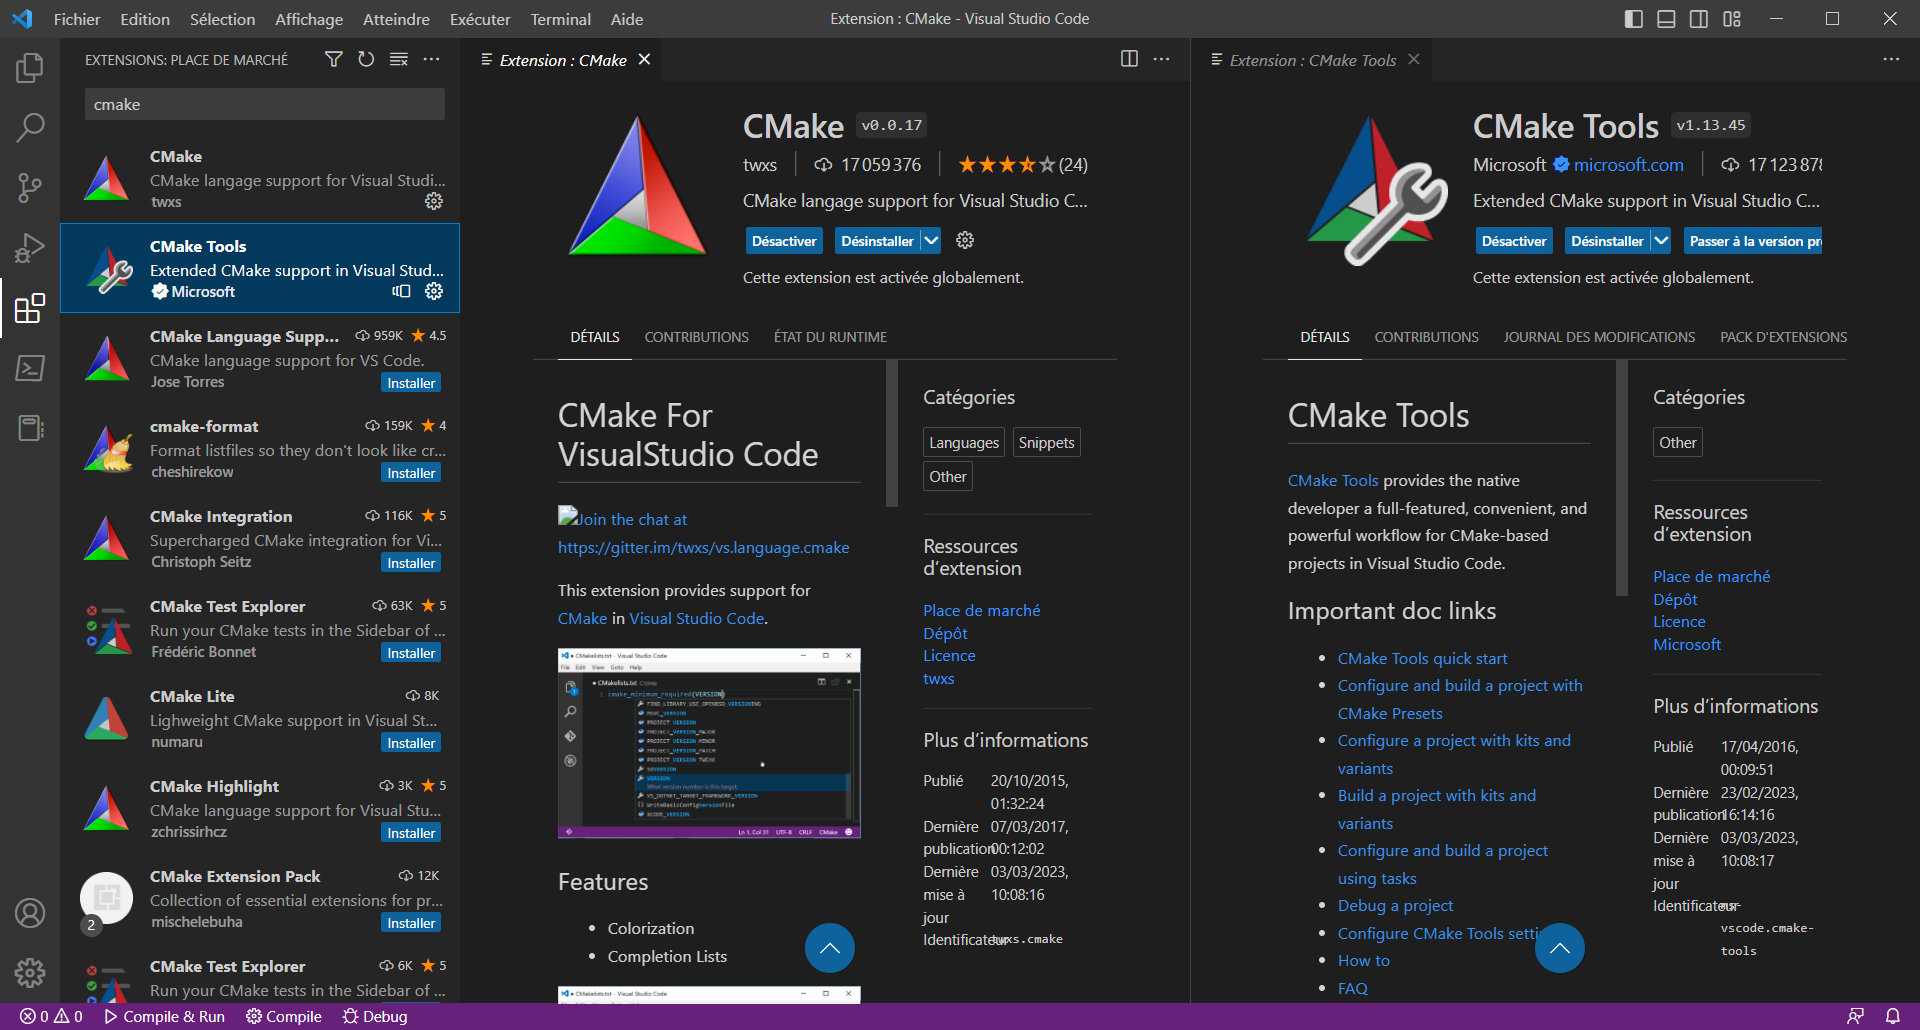
In the Visual Studio Code Extensions tab (Ctrl + Maj + X), install :  CMake and
  CMake Tools.
PROCESS TO FOLLOW
Creating the component and its functions
Follow this process : Component Allocation
Allocation of flows to transcription functions
Fill in the listening and broadcast ports with the necessary required and provided interfaces.
A good way is to create a sequence diagram (Create New Mapping Sequence) and create the flows between the function and the transcription function.
The interfaces will be automatically allocated.
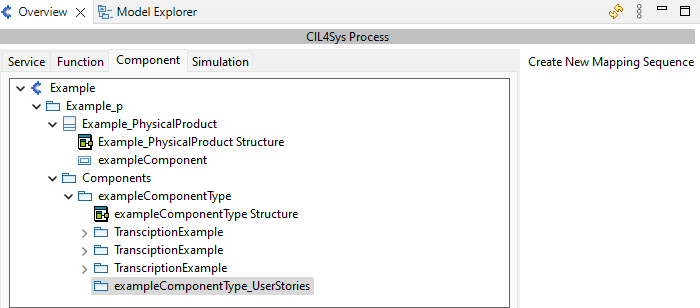
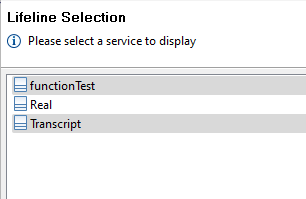
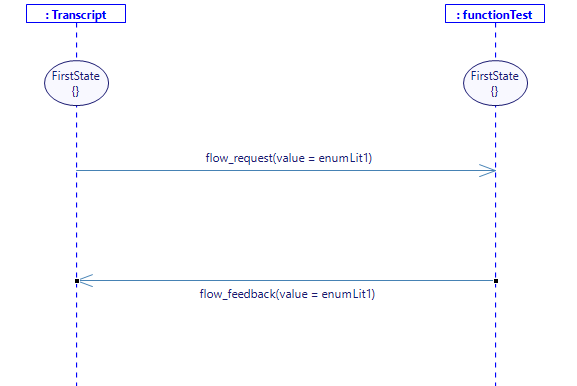
If you go back to the componentType structure diagram you can see that the interfaces ("required" and "provided") have been allocated to the corresponding ports.
Another way is to directly add the interfaces from the Model Explorer onto the component interface diagrams.
Open the empty Component level interface diagram FunctionProvidedInterfaces.
Drag in the interfaces that are in :
- << ProjectPackage >>
- << ServicesPackage >>
- << ServicePackage >>
- << SpecificInterfaces >> ToEnv.
- << ServicePackage >>
- << ServicesPackage >>
Open the empty Component level interface diagram FunctionRequiredInterfaces.
Drag in the interfaces that are in :
- << ProjectPackage >>
- << ServicesPackage >>
- << ServicePackage >>
- << SpecificInterfaces >> FromEnv.
- << ServicePackage >>
- << ServicesPackage >>
Generation in the model of the necessary elements for communication with CANoe
In the Model Explorer :
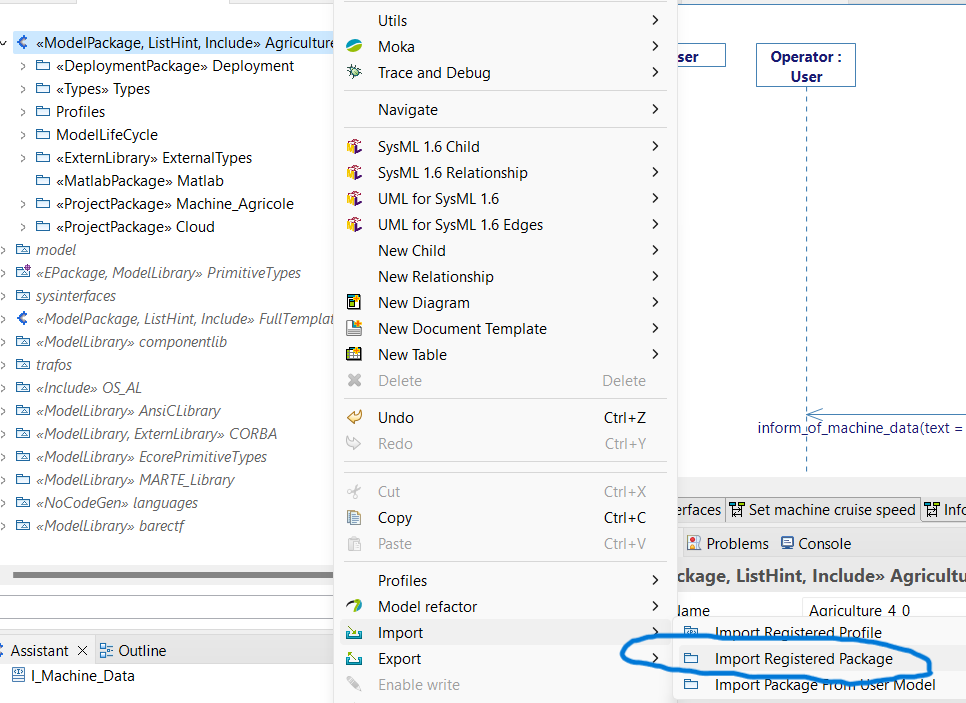
- At the root of the project, right click and select Import -> Import Registered Package.
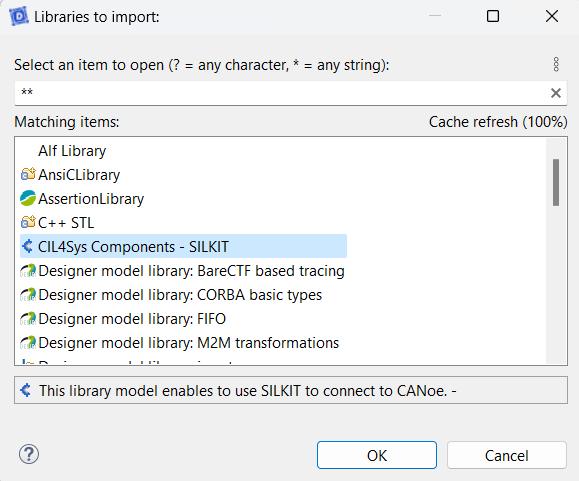
- Then select CIL4Sys Components - SILKIT.
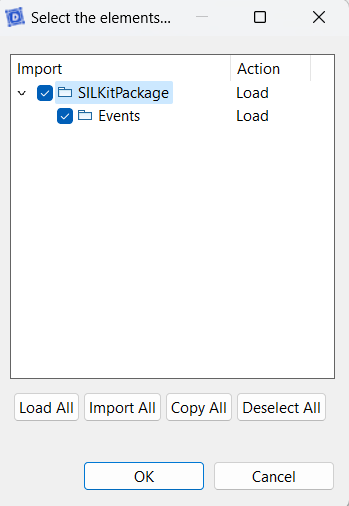
- Click on Load All then OK.
- Result : you should see the Silkit library at the bottom of the modelExplorer.

- In the ComponentType Structure Diagram, right click on the transcription function then click on Generate code to CANoe.
- A popup will open pointing to the project's Export folder (if it doesn't exist, it will be created).
This folder contains at least :
CMakeLists.txt
generateAdapter.ps1
setSources.ps1
TranscriptionFunctionName.vcdl
These files will be used after the setting up of the deployment plan.
Setting up of the Deployment Plan
We need to create a special deployment plan to generate the code.
In the Model Explorer :
- Go to <<ComponentsPackage>>Components -> <<ComponentPackage>> ComponentType.
- Right click on <<ComponentPackage>> -> new child -> Package.
- In the Properties view :
- Fill in the name (e.g Deployment).
- In the Profile's tag of the Properties view :
- Add the DeploymentPlan stereotype in Applied stereotypes.
- Expand DeploymentPlan :
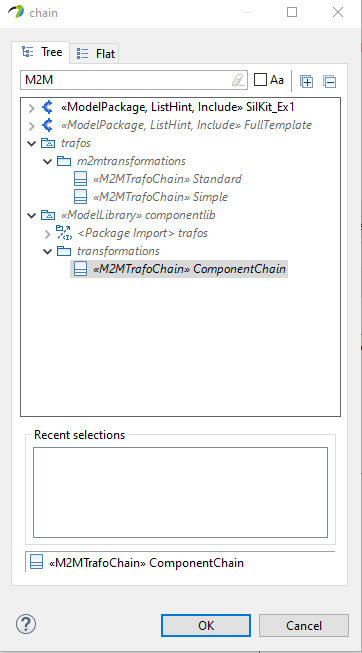
In chain: M2MTrafoChain [0..1], add ComponentChain.

In projectMappings, you can change the name of the generated code folder by using the following syntax :
ModelPackageName_defaultNode_Deployment = NewName

Setting up the Main
The main is the first level of your code. Here we want to generate the Component code (which contains the connector to SILKit and your functions).
- Right click on <<DeploymentPlan>> DeploymentName -> new child -> InstanceSpecification.
- In the properties view :
- Fill in the name: main
- Define the classifier : <<ComponentClass>> ClassName
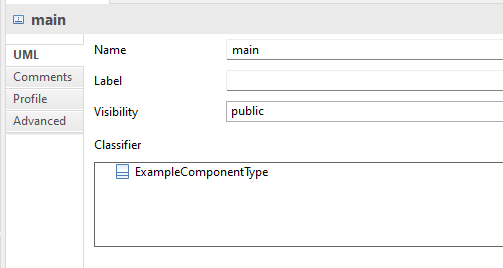
- Right click on <<DeploymentPlan>> DeploymentName -> new child -> InstanceSpecification.
- In the properties view :
- Fill in the name: main.TranscriptionFunctionInstanceName
- Define the classifier : <<ComponentClass>> TranscriptionFunctionClassName
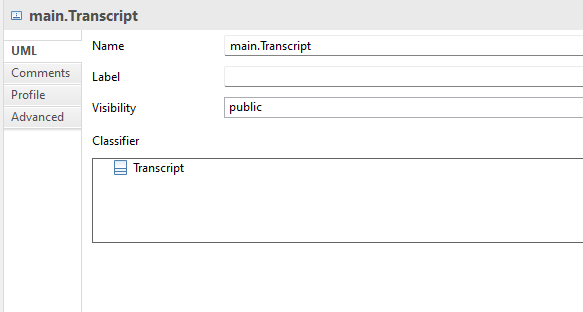
- Right click on main -> new child -> slot.
- In the properties view :
- Fill in the Defining feature with the name of de <<TranscriptionProperty>>
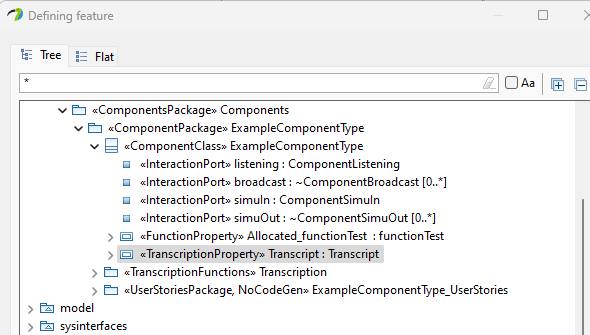
- Right click on <<Slot>> -> new child -> InstanceValue.
- In the properties view :
- Fill in the Instance with the name : main.TranscriptionFunctionInstanceName.
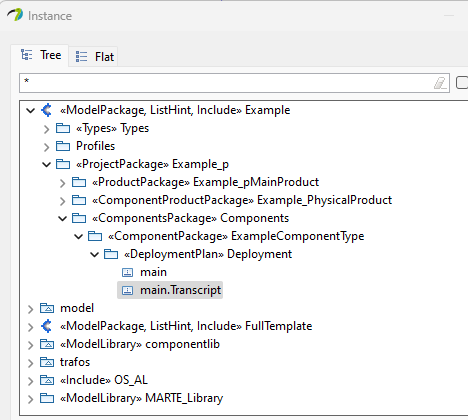
Configure CANoe variable scan time
- Right click on main.TranscriptionFunctionInstanceName -> new child -> slot.
- In the properties view :
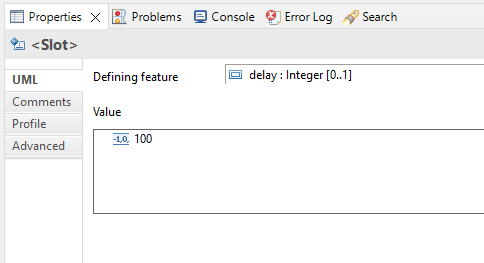
- Fill in the Defining feature with the Property Delay (which is in the SILKIT Library).
- Fill in the Value (choose LiteralInteger and set value to the desired value in milliseconds (by e.g : 100)).
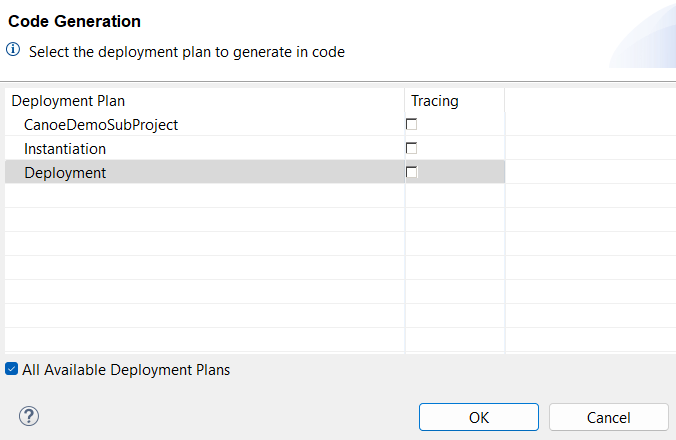
Code Generation
- In the Overview, select the project and click on [Code] Generate.
- Click on All Available Deployment Plans and select the newly created Deployment Plan.
- In the Toolchains, select MinGW GCC, then press Finish.
- A folder has been created.
Setting up the code compilation environment (requires VisualStudio Code and Cygwin)
- Open the newly created folder and copy/paste the src-gen folder at the root of the hard drive.
The length of the path may cause compilation problems when creating the CMakeLists.txt.
- Open the src-gen folder in the system explorer :
At the root of the folder : delete the Deployment folder.
In the project folder : delete the Actors folder.
This makes it possible not to compile this code which is only necessary for the dialogue with VirtualBench.
-
Copy CmakeSetSources.bat and autoSetSources.ps1 in the export's folder of the Project folder and paste it at the root of src-gen folder.
-
In the src-gen folder :
Double click on CmakeSetSources.bat.
Another way is to Copy CMakeLists.txt and setSources.ps1 in the export's folder of the Project folder and paste it at the root of src-gen folder. Then, in the src-gen folder, execute (via PowerShell) setSources.ps1 and copy the command created and paste it in the CMakeLists.txt in the place left empty (set()).
Remember to redo this step if you add functions or transcription functions to your Component. ::: the SILAdapter
Setting up the SILAdapter from the produced VCDL (requires CANOe v17 SP3)
- Open the Project folder :
Double click on SILAdapter.bat : a folder will be created with a SILAdapter folder inside.
Another way is to execute (via PowerShell) generateAdapter.ps1.
- In the export's folder of the Project folder, copy the SilAdapter folder and paste it at the root of the src-gen folder.
Compiling the model and SILAdapter code
- import src-gen folder in Visual Studio Code.
Right click on the folder, choose Show more options, then open with Code.
- In Visual Studio Code, the generator to use is GCC 10.2.0 x86_64-w64-mingw32.
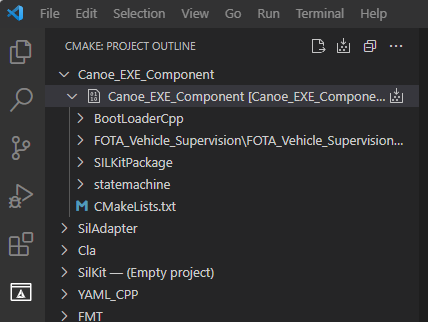
- When CMakeLists.txt generation is complete, the CMake icon appears.
- Make sure that the Debug Mode.

- Click on it then launch the code generation by clicking on the icon to the right of Canoe_EXE_Component [Canoe_EXE_Component]
-
A build folder is created at the root of src-gen folder with a ".exe" file.
-
Find in the system explorer and paste at the root of the build folder the following .dll files :
libgcc_s_seh-1.dll
libstdc++-6.dll
libwinpthread-1.dll -
Find in the system explorer Vector SIL Kit 4.0.xx folder (normally in C:\ProgramFiles\Vector SIL Kit) then go to x86_64 -> bin and run sil-kit-registry.exe (and keep it open !).
If you didn't change the default location during installation, on Windows, the folder should be in C:\Program Files\Vector CANoe 17\Exec64.
- Go to the root of the build folder of the src-gen folder and run the executable created.