Component allocation
Physical Products are created, composed of Components. Functions from above levels of specifications are allocated to the components. Transcription Functions converts functional flows and real flows.
CREATE A PHYSICAL PRODUCT
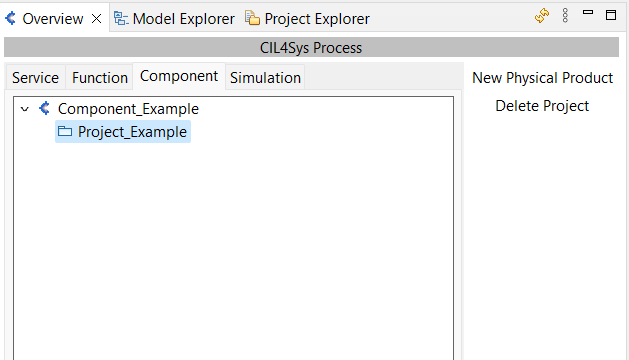
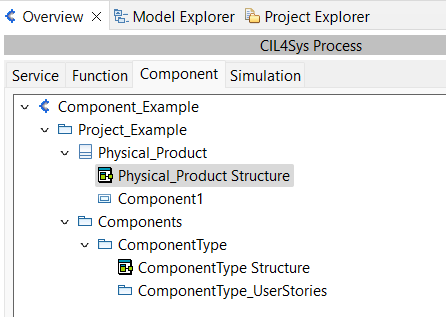
In the overview, go to the "Component" Tab, click on the Project then on "New Physical Product"
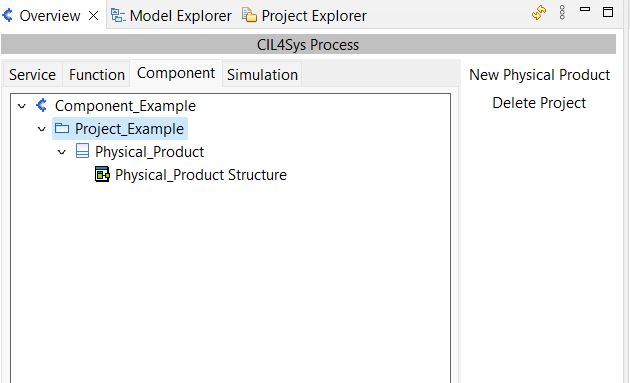
Choose name of the product, then click Ok:
CREATE COMPONENTS
Open the Physical_Product Structure, and the "New Component" Button:

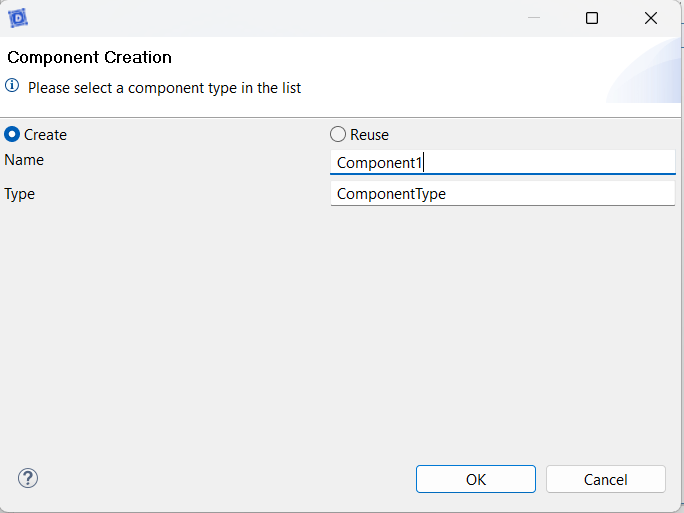
Name the Component instance in the Product, and the Component Type:
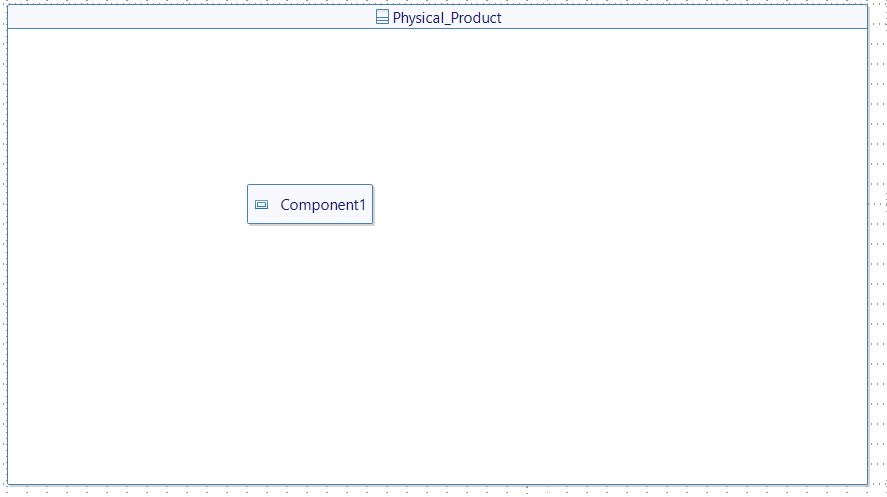
After clicking Ok, an instance of the Component is added to the Product:
And a ComponentType is created with a Structure:
ALLOCATE FUNCTIONS TO COMPONENTS
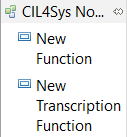
Open ComponentType Structure, and click on "New Function" button :
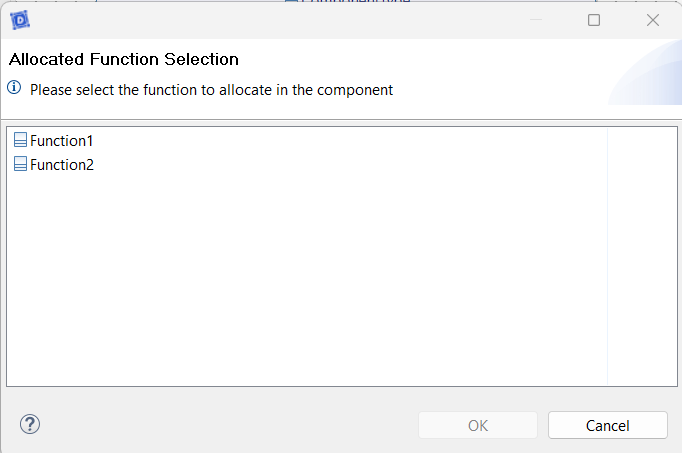
Select Functions to allocate to the Component:
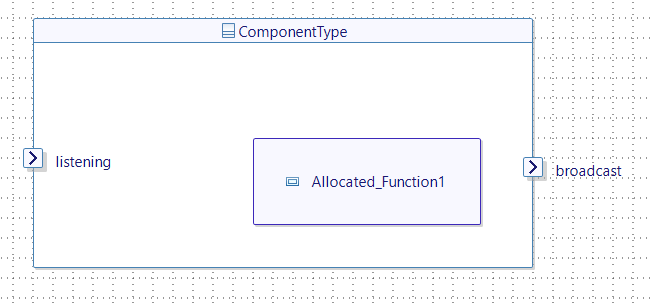
After clicking "OK" the function is allocated:
CREATE TRANSCRIPTION FUNCTIONS
Open ComponentType Structure, and click on "New Transcription Function" button :

Choose a name and a Category :
- Real to functional for inputs of the Component
- Function to Real for outputs of the Component
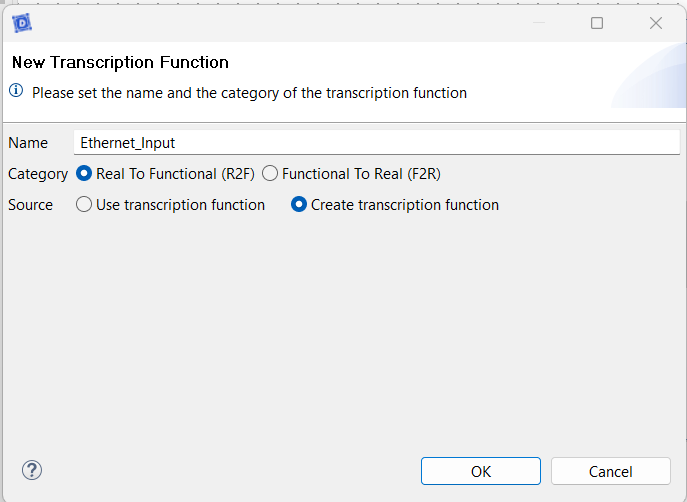
After clicking "OK", a transcription function is added to the component:

CREATE SEQUENCE DIAGRAMS TO ALLOCATE FLOWS
Click on "Create New Mapping UserStory":
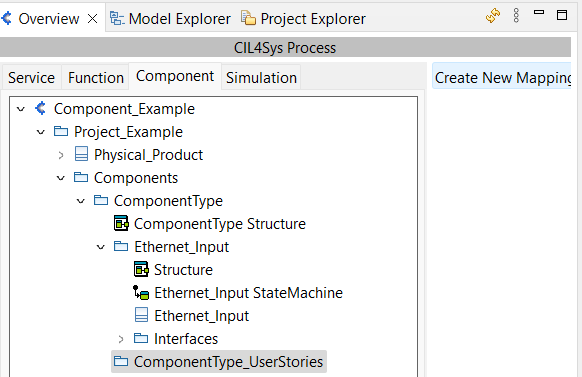
Name the sequence diagram :
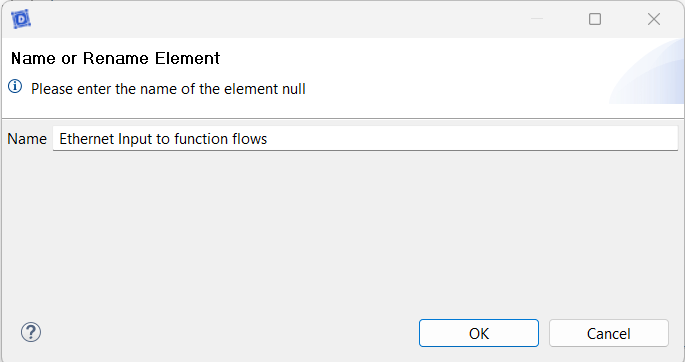
Open the sequence diagram :

Click on "Lifeline" then select the function and the transcription function:
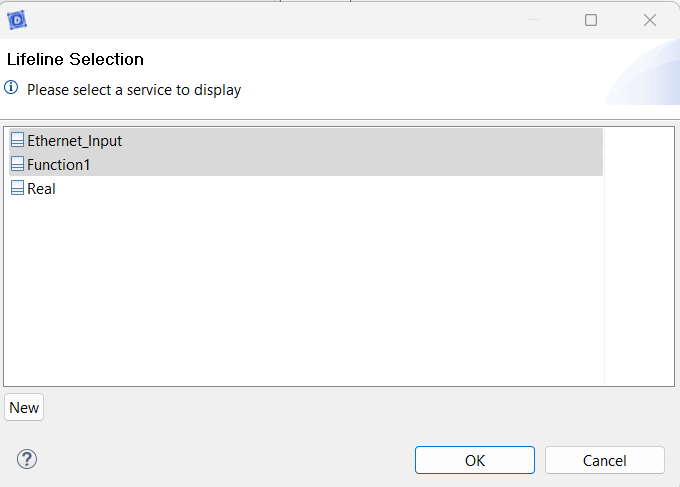
After clicking OK:

Add messages between lifelines to allocate the flows :

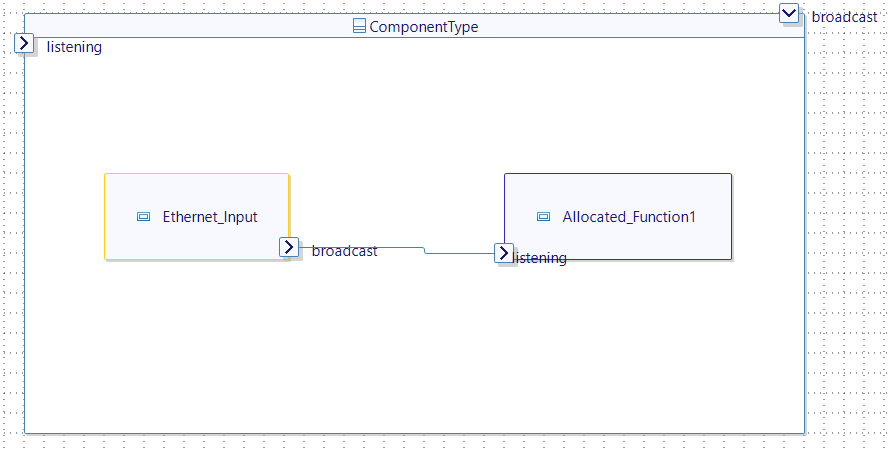
The structure of the component is updated :
GENERATE CODE
Setting up of the Deployment Plan
Before generating our code, we must first create a Deployment Plan to ensure optimal deployment, compatibility, and prevent integration issues.
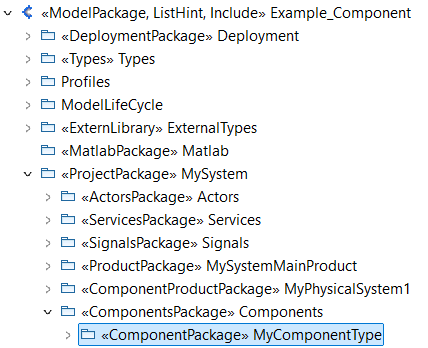
In the Model Explorer :
- Go to <<ComponentsPackage>>Components -> <<ComponentPackage>> ComponentType.
- Right click on <<ComponentPackage>> -> new child -> Package.
- In the Properties view :
- Fill in the name (e.g Deployment).
- In the Profile's tag of the Properties view :
- Add the DeploymentPlan stereotype in Applied stereotypes.
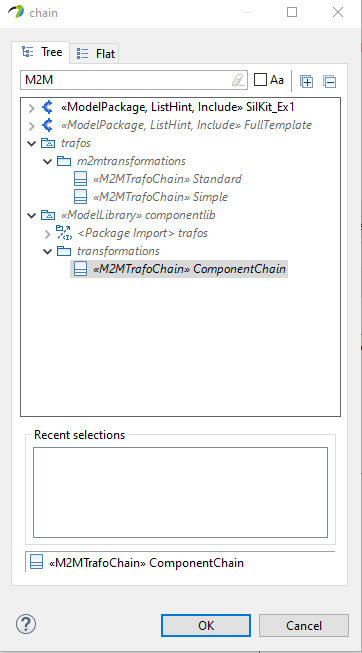
- Expand DeploymentPlan :
In chain: M2MTrafoChain [0..1], add ComponentChain.

Setting up the Main
The main is the first level of your code. Here we want to generate the Component code .
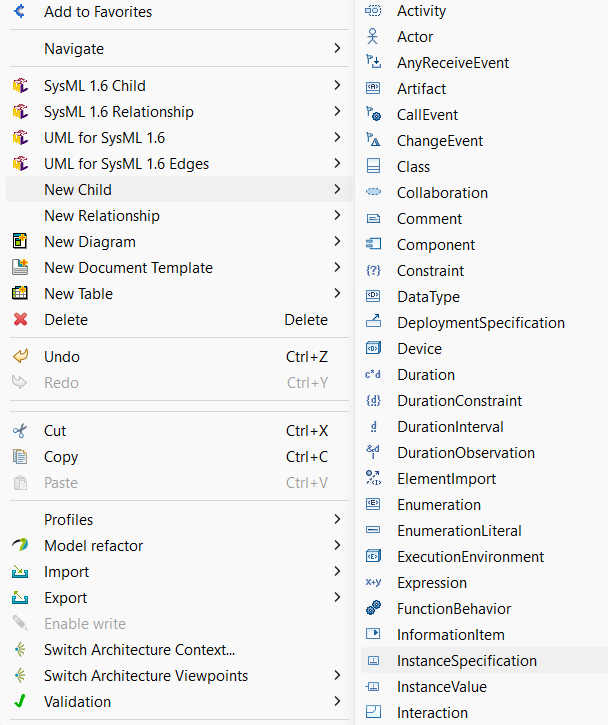
- Right click on <<DeploymentPlan>> DeploymentName -> new child -> InstanceSpecification.
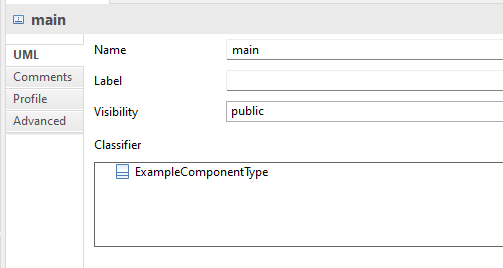
- In the properties view :
- Fill in the name: main
- Define the classifier : <<ComponentClass>> ClassName
Code generation
- In the Overview, select the project and click on [Code] Generate.
- Click on All Available Deployment Plans and select the newly created Deployment Plan.
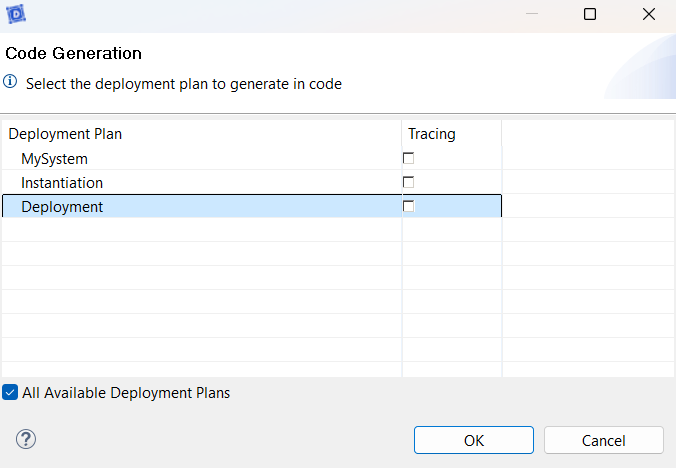
- In the Toolchains, select Cygwin, then press Finish.