Project Configuration
This page focuses on Project Configuration, detailing how to access, manage, and customize your projects on the sim4sys platform. It covers project selection, member management, and essential settings adjustments to streamline your workflow.
Selection
To initiate a project, navigate to the sim4sys homepage. Upon arrival, you will be presented with a list of projects to which you have been granted access. To open a project, simply double-click on it.

Guest participants in a project are limited to running scenarios without the ability to modify them.
Contributors, on the other hand, are empowered to create and amend scenarios.
Owners possess the authority to adjust the roles of project members, as well as to edit and delete any scenario.
Projects listed under the "Recent" tab can be effortlessly deleted by clicking the "red cross" button: 
Configuration
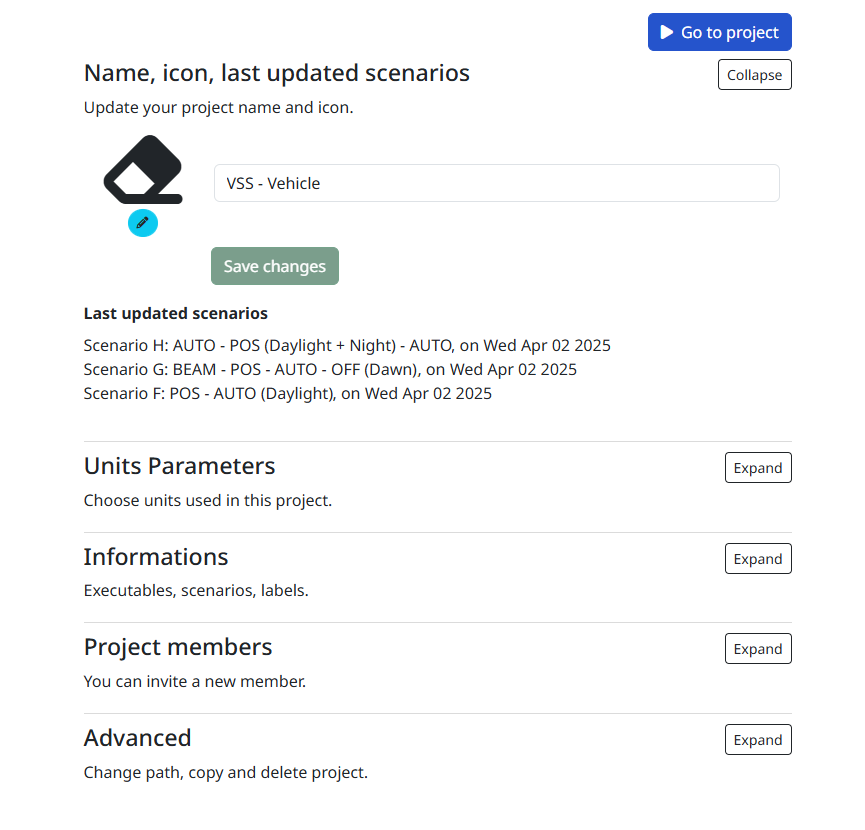
As the owner of a project, you can access its settings by clicking on the configuration button displayed here: 
Default Main Context
This section lets you define the default Main Context for your project. By default, the first context you create is selected, but you can change it at any time. Setting a project-level Main Context does not prevent you from choosing a different one at the scenario level; it simply avoids having to set it again for each new scenario.

Unit parameters
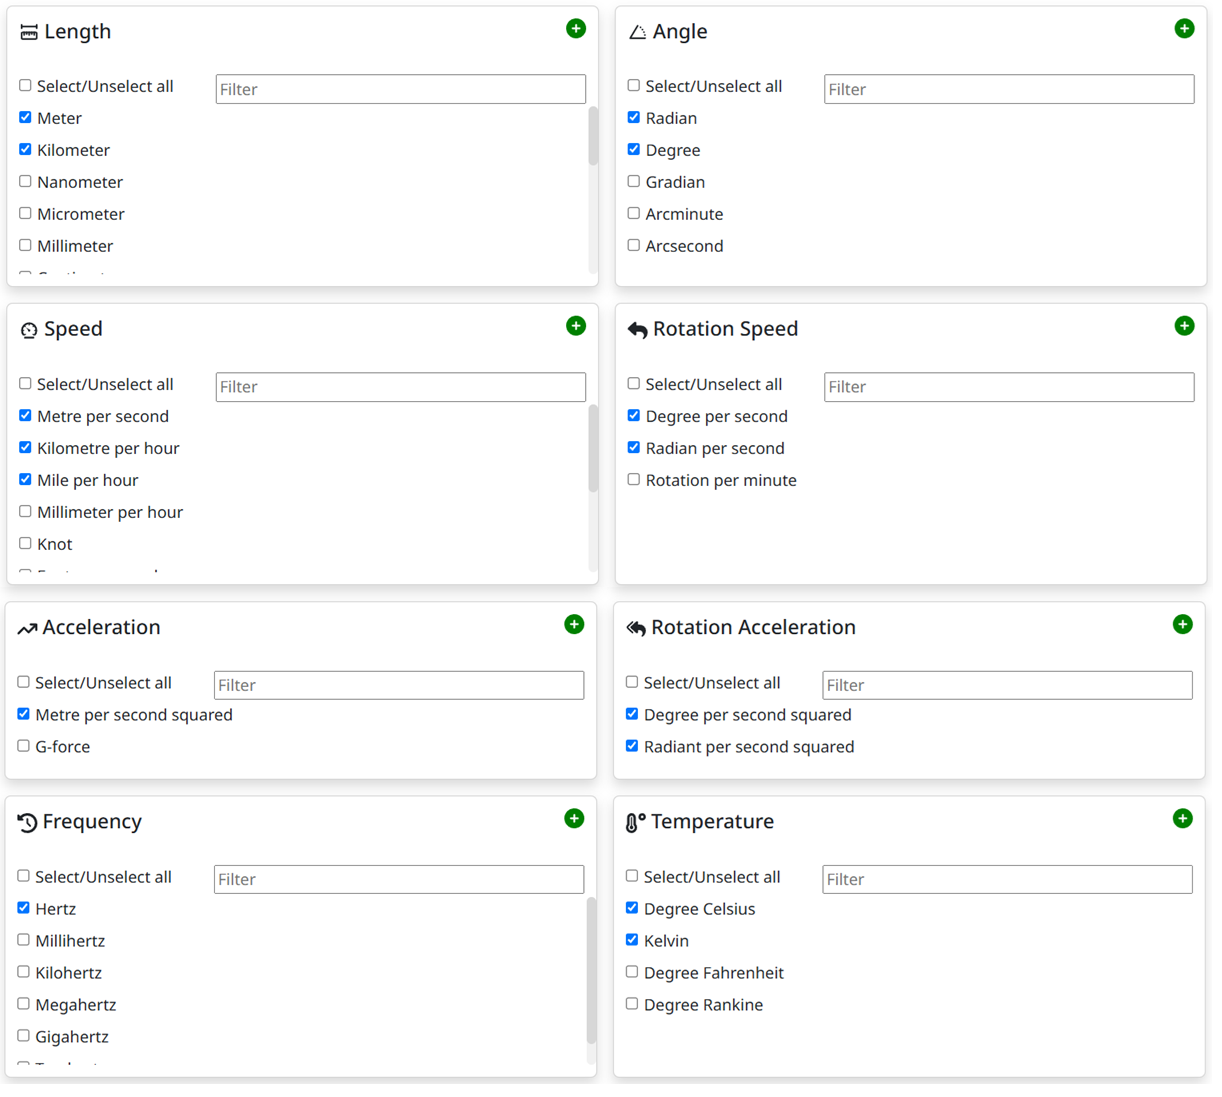
This section will allow you to set up the units that will be used in your projects. You can enable and disable the different units, displayed and organized into different unit categories: Length, Angle, Speed, Rotation Speed, Acceleration, Rotation Acceleration, Frequency and Temperature.
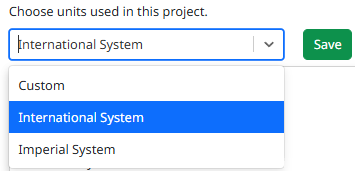
You can also choose from a set of predetermined options among three possibilities:
- Custom: Nothing will be enabled by default, allowing you to choose your units from zero.
- International System: Will only enable the relevant international system units including meters, radian, degrees, seconds, Hertz, Kelvin, etc.
- Imperial System: Will only enable the relevant imperial system units including inch, yard, foot, miles, Fahrenheit, etc.
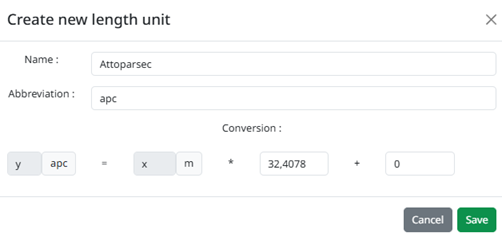
It is also possible to create a new unit if you can't find one that fits your needs. For this, jump into the relevant category, and click on the small add icon, from which a popup should appear:
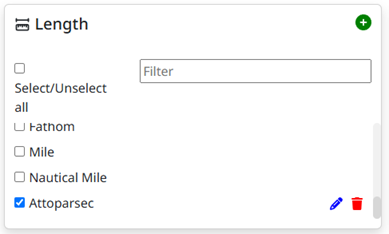
After adding it, it should appear in the category, enabled, with the possibility of removing or editing it:
Naming, Topics, Avatar
This section allows you to modify the project's name and icon.
Project Members
In this section, you can oversee which users have access to your project. It provides the functionality to add or remove users and designate their roles within the project (either as a contributor or guest).
Advanced
Caution is advised when navigating this section. It contains options to alter the project's file path or to completely delete the project.
Project Page
In the left sidebar, there are two primary tabs:
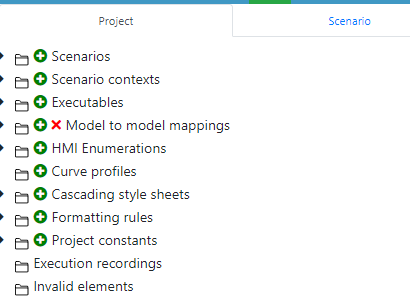
- Project: This tab outlines the components that constitute the selected project.
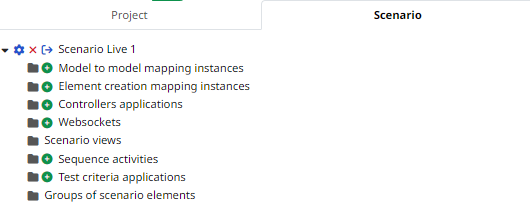
- Scenario: This tab details the elements that characterize the selected scenario.
Scenarios related to a project are organized within the "Scenarios" folder. To access a specific scenario, simply double-click on the scenario or click on the green eye icon.
- To gain access to a particular project, you should reach out to the project owner.
- The scenario execution buttons and the right sidebar menus (parameters, mappings, test criteria applications, etc.) become accessible only when a scenario is opened.
Within the specific project tab, you can view various elements and parameters. These can be defined and adjusted as needed:
Project Constants
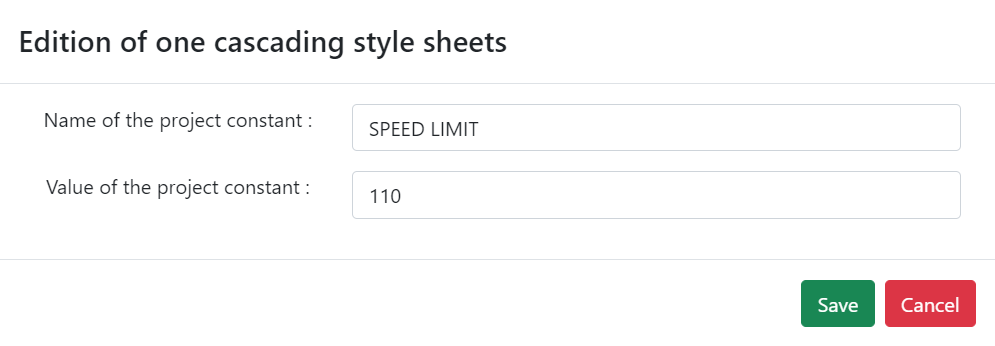
In this section, you have the ability to define constants for use throughout your project.
Each project constant should be of a simple type, such as a string, integer, or decimal number.
