Websocket Configuration
The websocket buttons facilitate the connection between Sim4Sys and executables.
Displayed here are the websockets deployed within the scenario.
Add a new websocket
You can introduce new websockets by pressing the "add executable instance" button:

Choose the executable to link, and specify both the name and the port number for the websocket:

Each websocket requires a distinct port number. The Virtual Bench automatically suggests an available port number by default.
Edit a websocket
You can modify a websocket by clicking on the "Edit" button: 
Alternatively, right-clicking on its websocket button will also allow for editing. This action will open the websocket connection pop-up, where further modifications can be made (refer to the subsequent sections for more details).
Definition of Clock flows
Right-clicking on a websocket button enables you to link the clock flow and the sampling time flow that you previously imported:
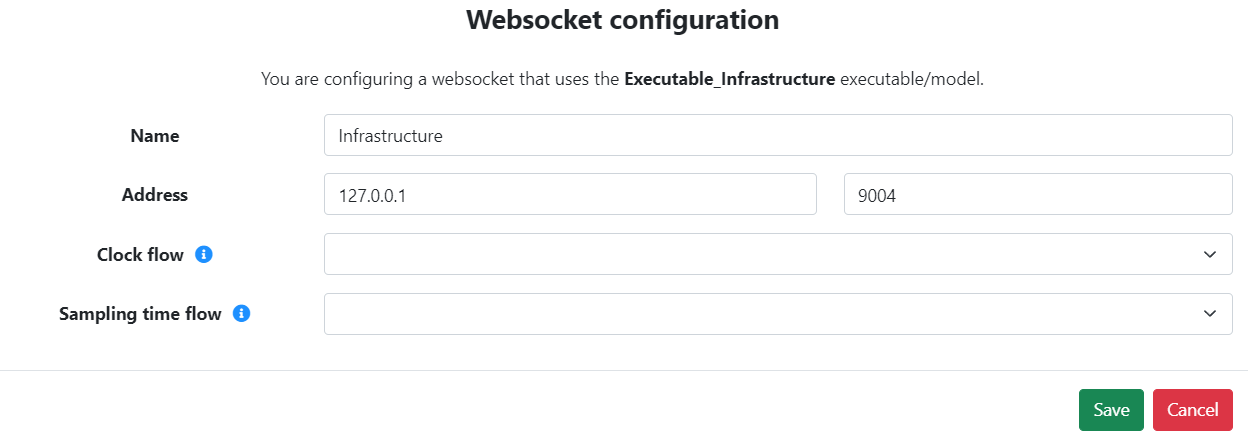
The clock flow is dispatched at each iteration of the Virtual Bench, and this flow should not contain any parameters.
The sampling time flow is transmitted at the commencement of the scenario execution. This flow includes only one parameter, either an integer or decimal, which conveys the sampling time value.
Change the address
Right-clicking on a websocket button gives you the option to modify the address. This adjustment enables the executable to run on a different machine than where the Virtual Bench visualization is hosted.

Clone a websocket
To replicate a websocket within a scenario, press the "Clone" button:

This action triggers a summary window detailing the duplication specifics, including the count of scenario elements linked to a mapping instance of this websocket:
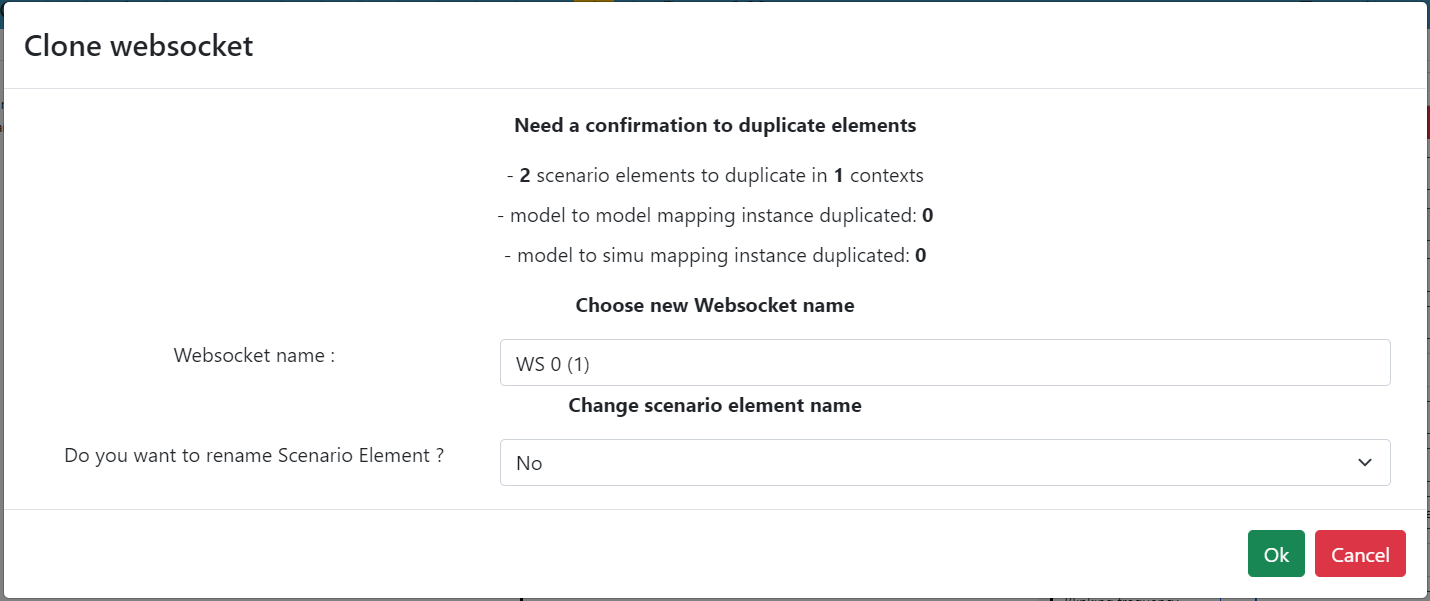
Here, you can assign a new name for your duplicated websocket. Confirming the duplication process results in the creation of a cloned websocket that retains the original's flows, types, and mappings. Additionally, all scenario elements within each context are replicated and grouped, facilitating efficient management of, for instance, HMI clusters.
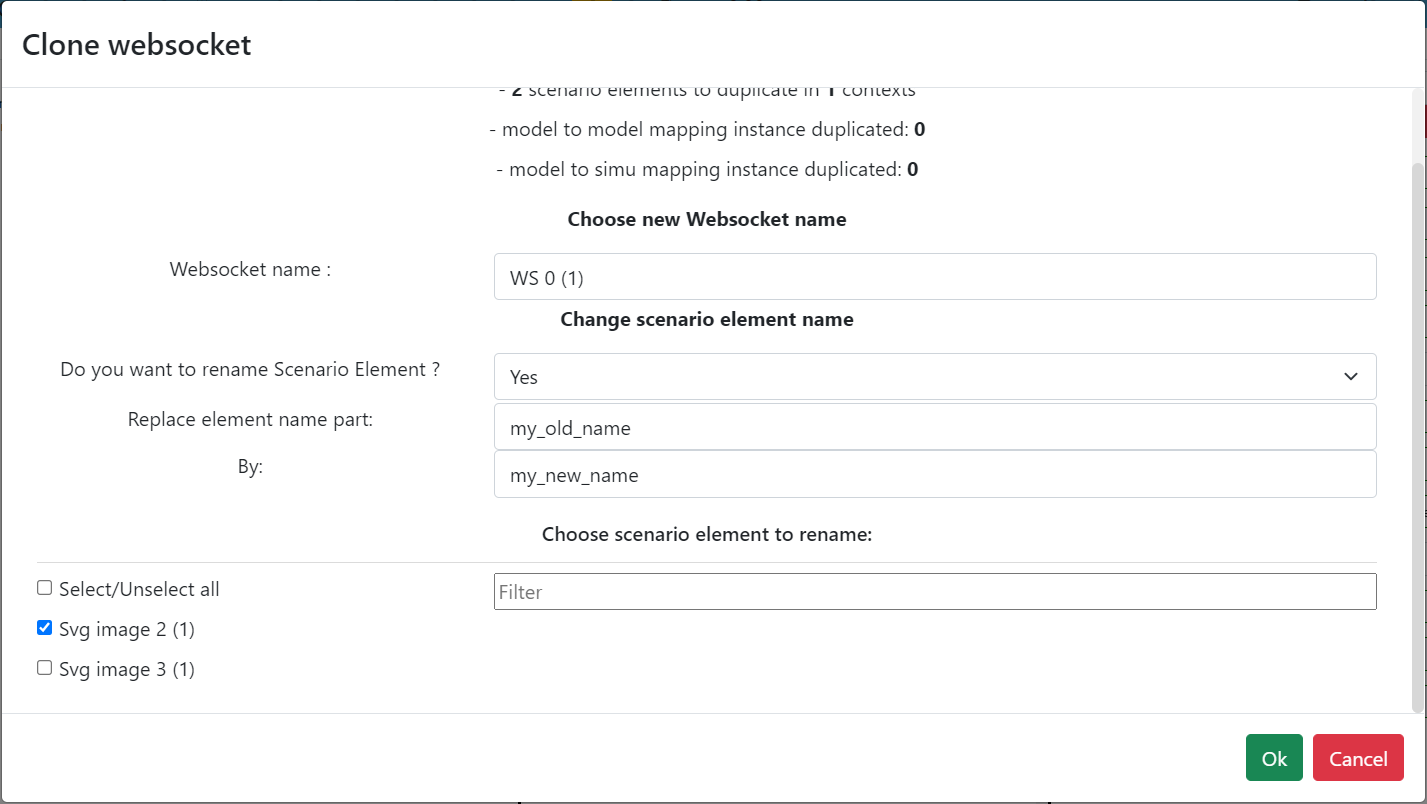
Moreover, the interface offers a feature to search and replace the names of scenario elements set to be duplicated by opting for "Yes" in the combobox and selecting the elements whose names you wish to modify.
Delete a websocket
Clicking the "Delete" button with the left mouse button will result in one of two outcomes, depending on how the websocket is being used:
- If the websocket is not in use, it will be removed:

- If the executable is currently in use, a notification will appear indicating that deletion is not possible:

Model to model mapping instances
Double-clicking on the websocket grants access to its model to model mapping instances:
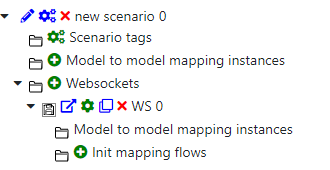
Contrary to the information provided on the Model to model mapping instances page, this view exclusively lists the model to model mapping instances associated with the scenario that are related only to the selected websocket.
Init mapping flow
These flows are sent at the beginning of the scenario, making them ideal for initializing certain system parameters through an Engineer flow, such as the weight of a vehicle or the life state of software.
To add an init mapping flow, click on " Init mapping flow"
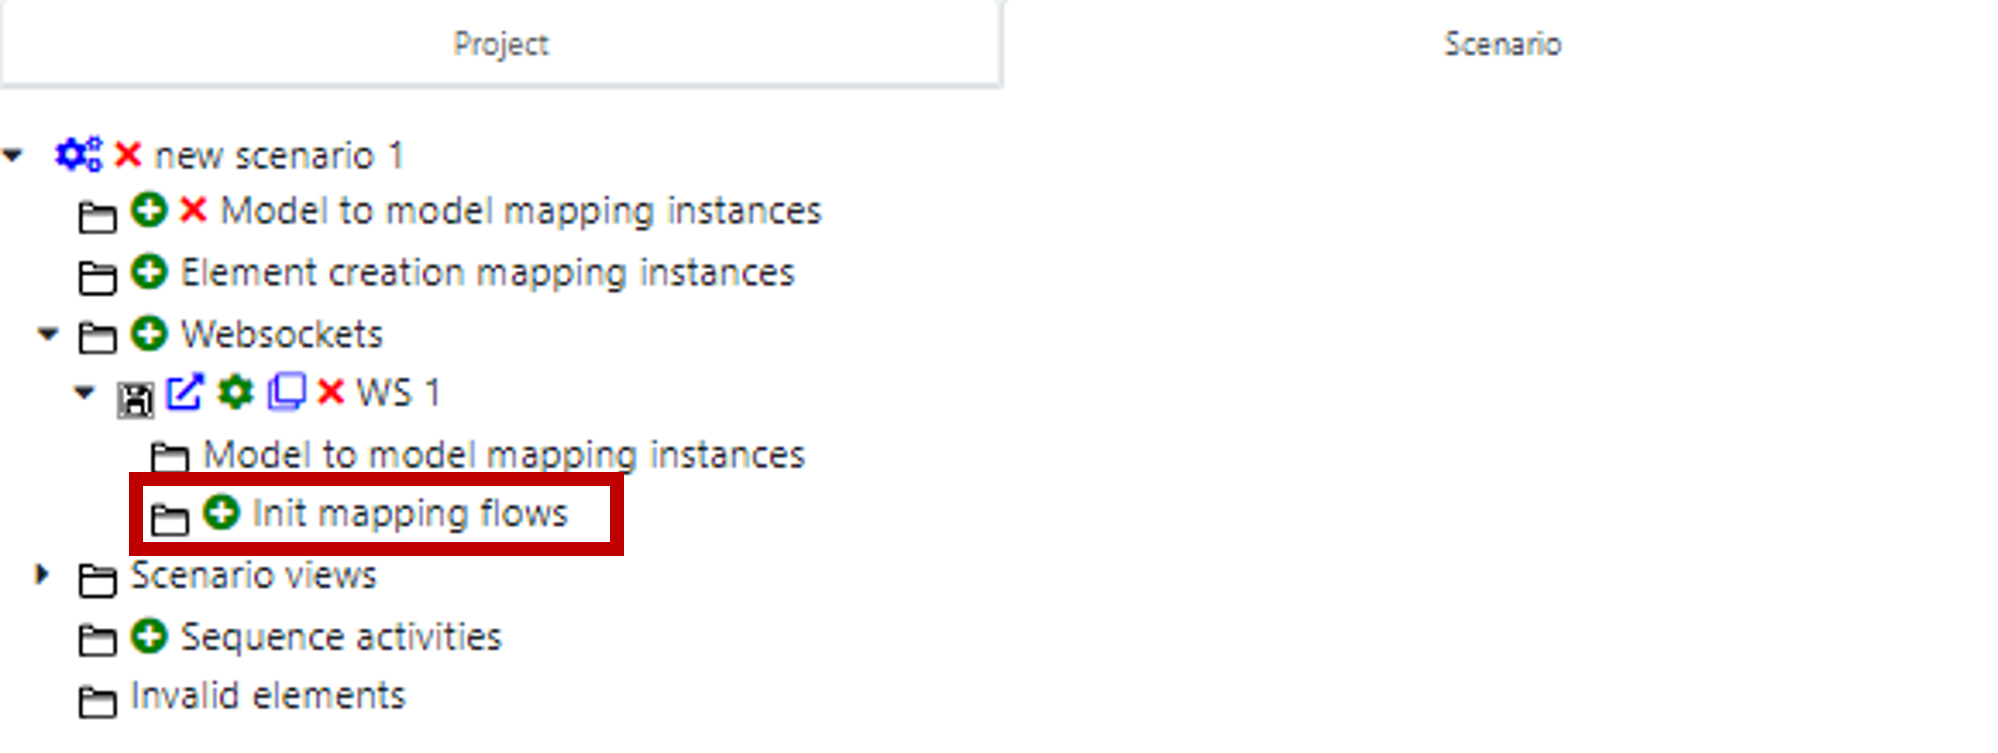
Then, select the flow you want to send at the start of the scenario:

Choose the value(s) for the flow to initiate:

This instance will be listed under "init mapping flows":
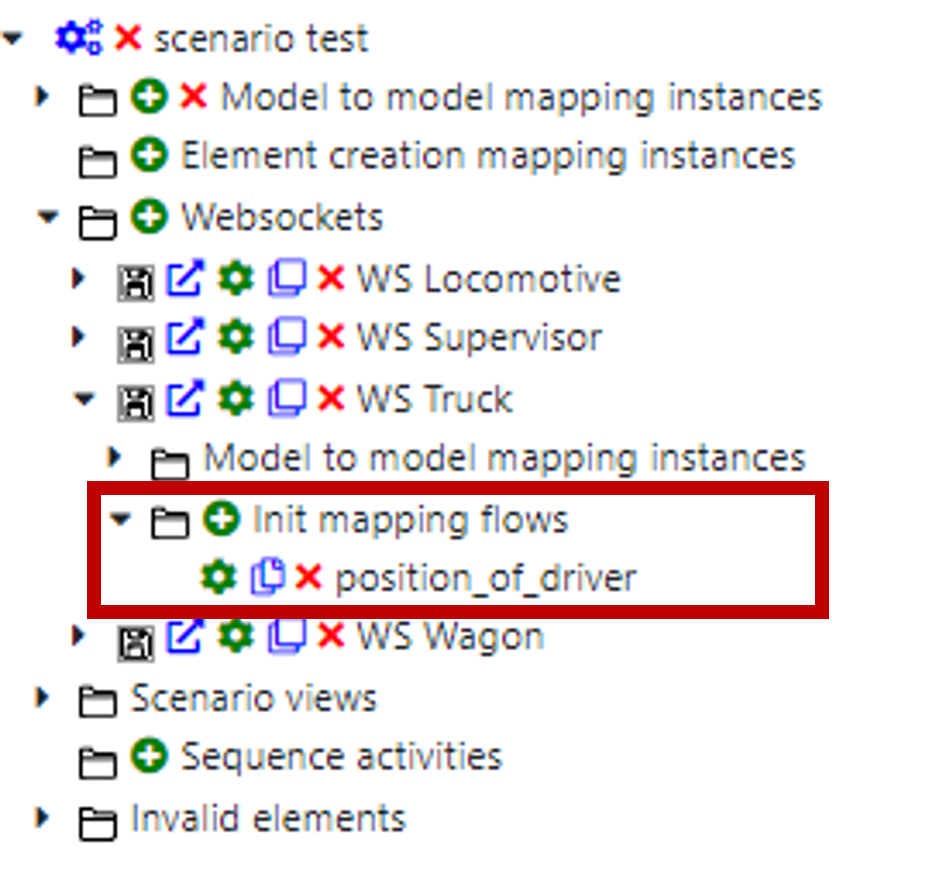
To modify an init mapping flow, click on the "Edit" button: 
To remove an init mapping flow, click on the "Delete" button: 
To duplicate an init mapping flow across multiple scenarios, click on the "Copy" button: 
Following this, a popup will appear, prompting you to select the scenario(s) where you wish to copy the init mapping flow.
Model Parts Instances Configurations
Before proceeding, ensure that you have created model parts within the Project tab (for guidance, refer to Model Part). To instantiate a model part, you will need to click on the add button.
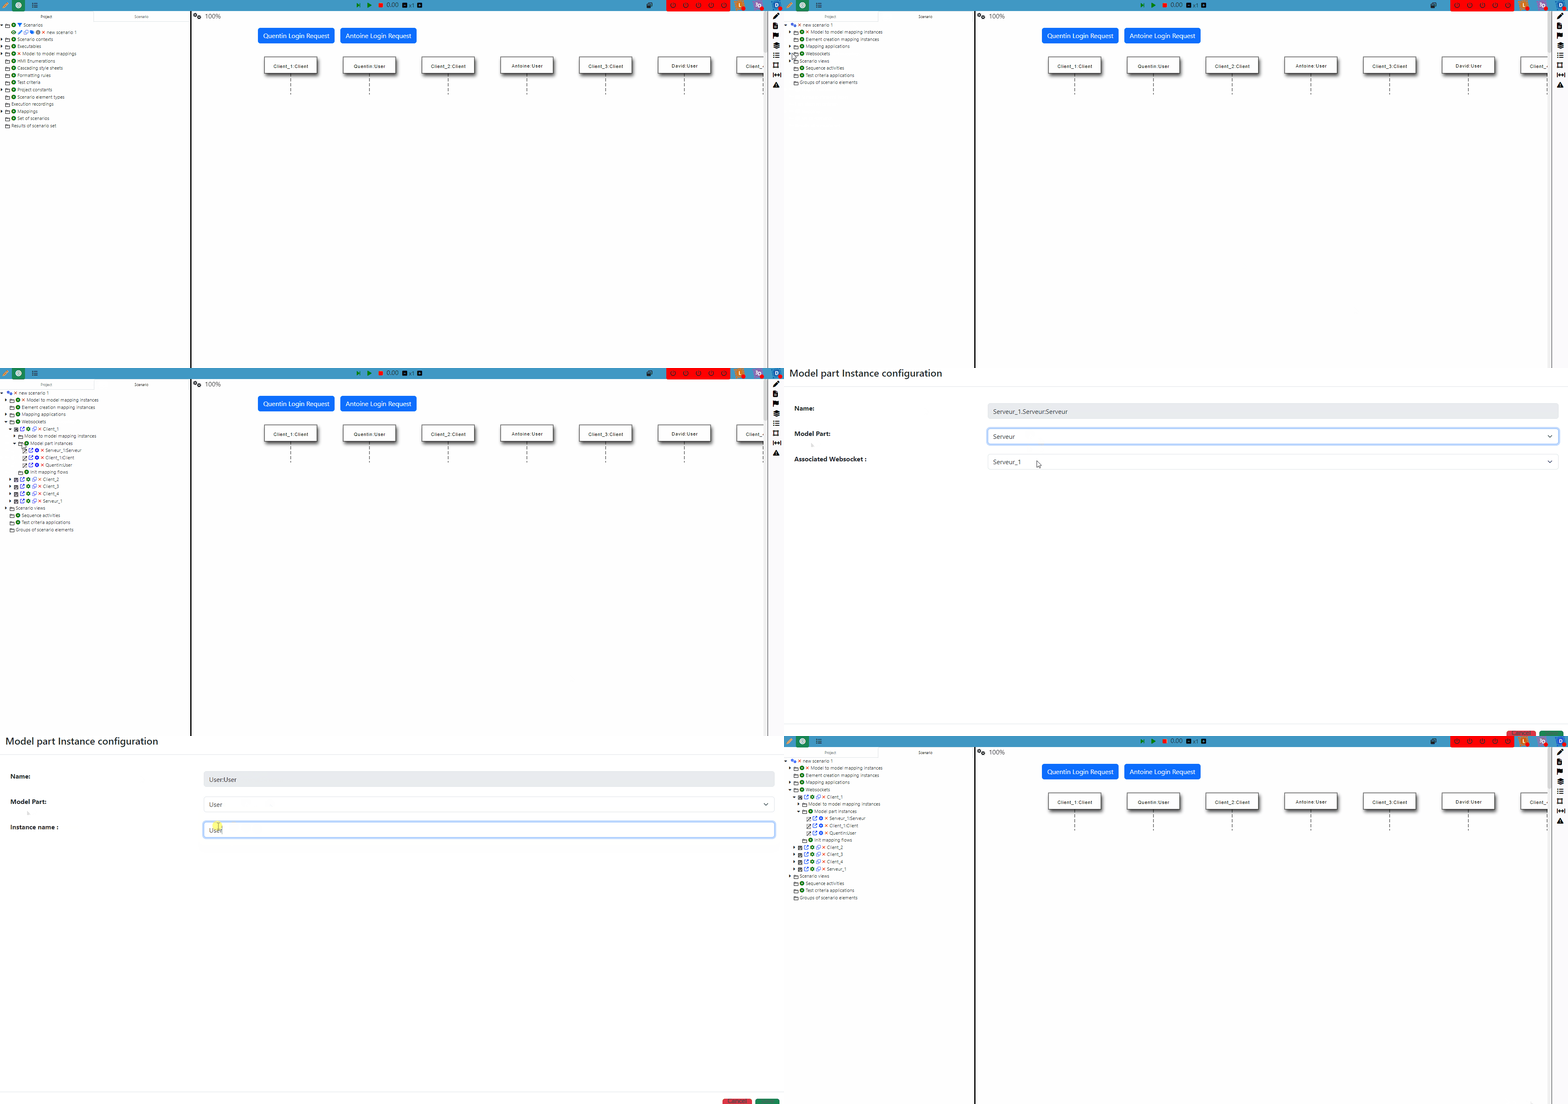
After clicking the add button, you will be prompted to configure the parameters for the model part instance:
| Parameter | Reformulated Description | Required | Unique | Editable |
|---|---|---|---|---|
| Name | The unique identifier for the model part instance, created automatically. | ✔️ | ✔️ | ❌ |
| Model Part | The specific model part this instance is derived from, as specified in the executable linked to the websocket. | ✔️ | ✔️ | ✔️ |
| Instance Name | Allows for the assignment of a custom name to the instance, applicable only if the model part type is external. | ❌ | ❌ | ✔️ |
| Associated Websocket | Enables the selection of a websocket to associate with this instance, relevant when the model part type is Other Model. | ❌ | ❌ | ✔️ |
In future releases, it will be generated automatically upon the creation of the associated model part.