Structuring Scenario Elements
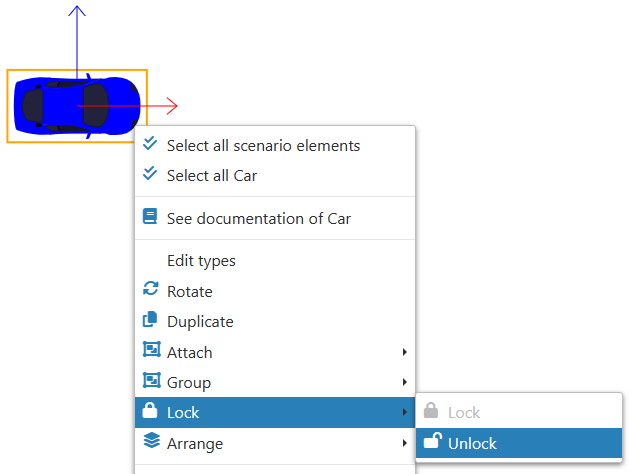
Right-clicking on an element within a scenario presents multiple options.
Attachment
Certain "scene" elements can be attached, for example, a Luminosity Sensor can be attached to a Car. The location of the attached object can be adjusted using the "relative position" parameters.
Attach
Attaching Elements via Drag & Drop
To attach two elements, drag an equipment element onto another, at which point a pink frame will appear:
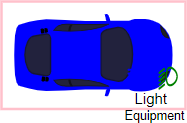
Attaching existing elemnts on the scene
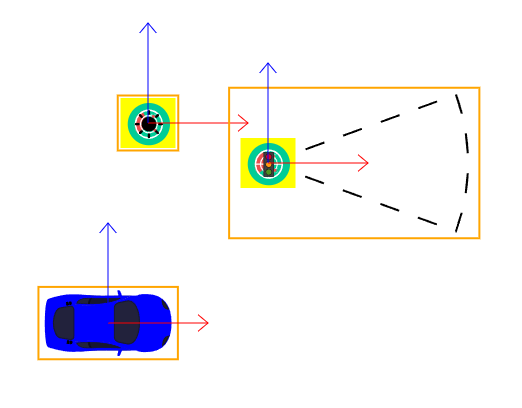
To utilize the "Attach" feature, you need to choose a minimum of two compatible elements. Select multiple elements by holding Ctrl and left-clicking on them, then right-click on any selected element to attach them:
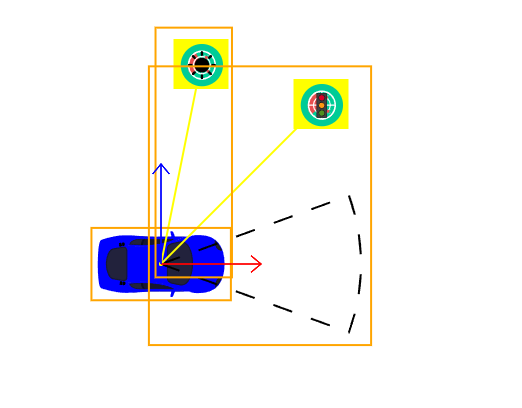
Unattach
Right-click on an attached element to unattach it from its owner element:


Grouping
Create a Group
To activate the “Group” option, a minimum of two elements must be selected.
Hold Ctrl and left-click to select two or more elements, then right-click on any of the selected items to group them together:
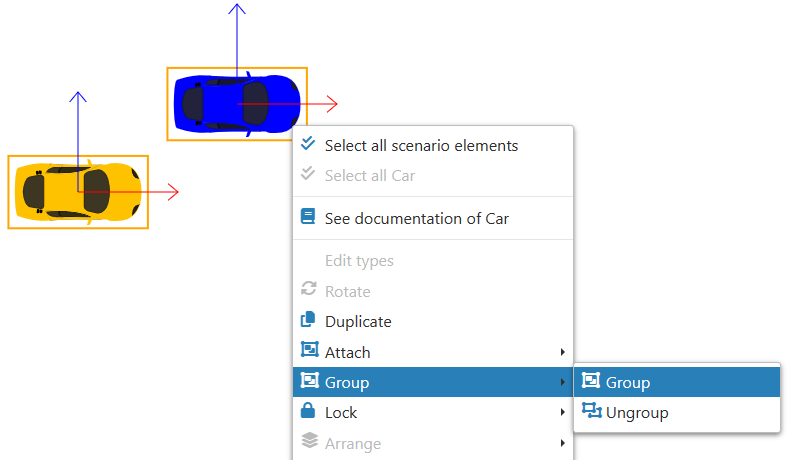
Grouping an element that has elements attached to it with one or more other elements will automatically incorporate its attached elements into the group.
List of your groups
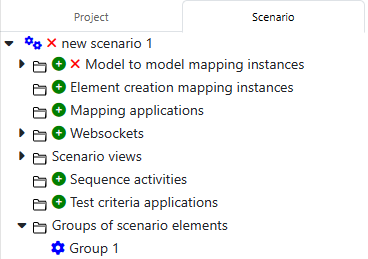
Every group within your scenario can be found under the Scenario tab, specifically in the 'Groups of scenario elements' section:
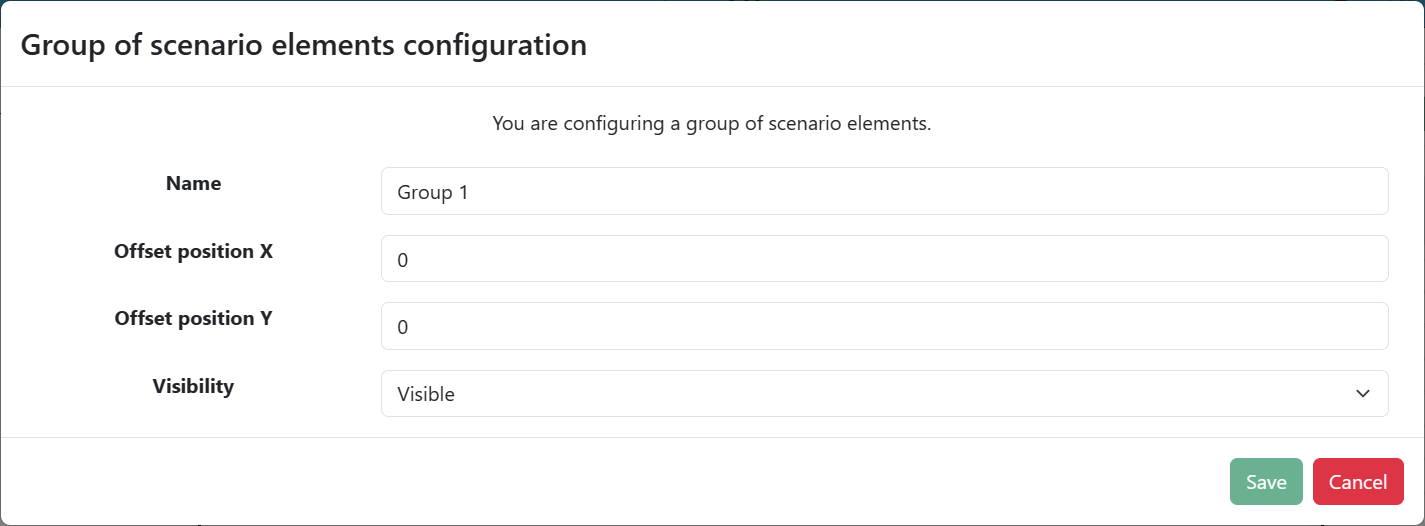
Clicking the 'Edit' button located to the left of a group allows you to alter its name, offsets, and Visibility settings:
Apply a mapping on a Group
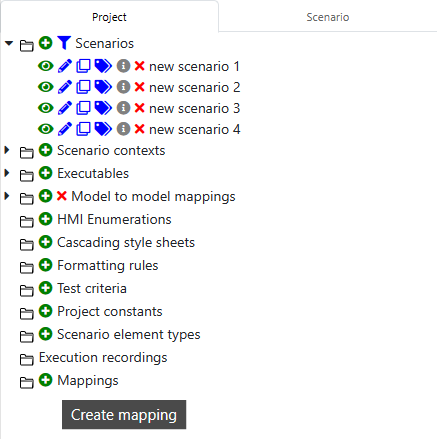
To initiate a mapping in the Project tab, start by clicking the "Create mapping" button adjacent to the Mappings node:
Following this, a window will prompt you to "Add action" to this new mapping, allowing for the inclusion of numerous actions as desired:
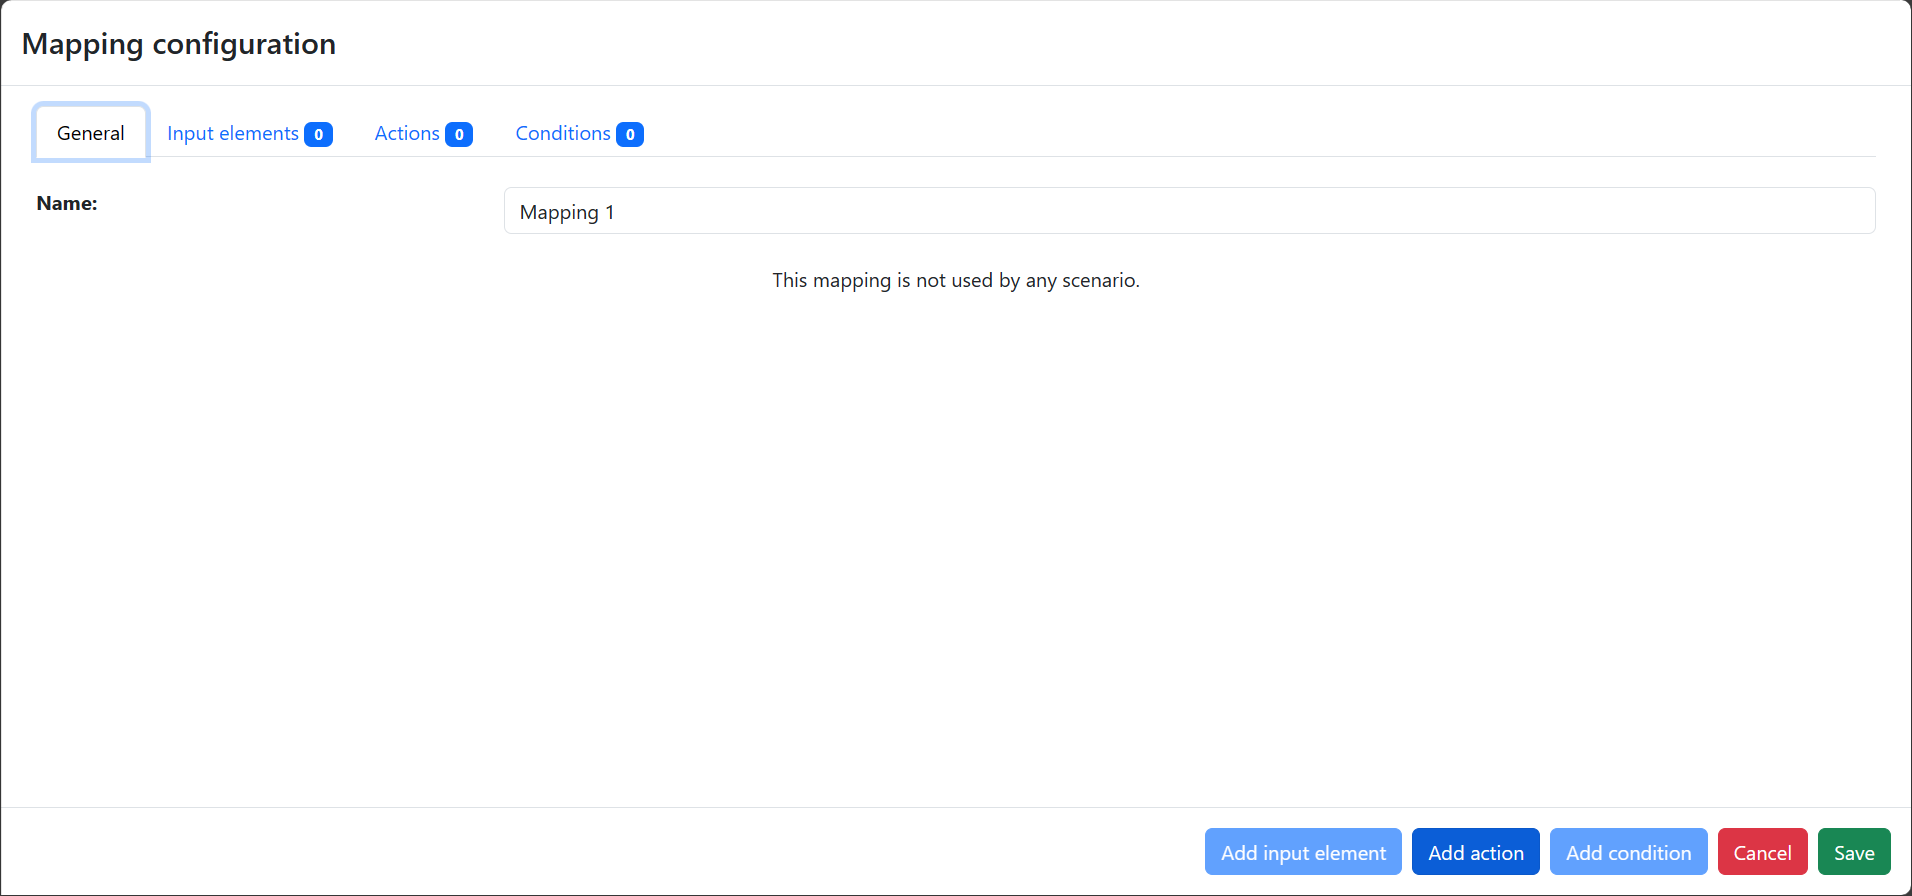
Available action types include:
- Updating a group of scenario elements.
You must choose at least one parameter to update before saving your changes.
Next, to apply this mapping to a group, navigate to Scenario tab, then click the "Add mapping application" button adjacent to the Websockets node:
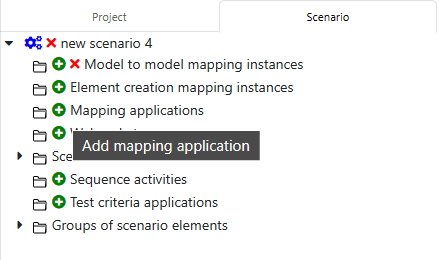
Here, select the mapping to apply, name the application, add an event, and choose at least one group of scenario elements to affect.
Available event types encompass:
- Flow reception
- Scenario element event
- Before scenario execution
- Continuous during scenario execution
After configuring, click Save to apply your mapping to a group of scenario elements.
If the Visibility parameter was chosen, remember to set the enumeration to "inherit" for all elements within the group.
Ungroup
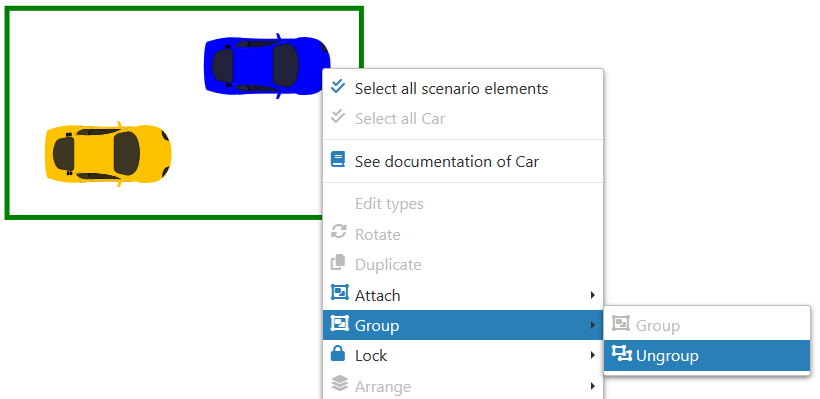
The "ungroup" function will eliminate the group itself but not the elements within it. To ungroup, right-click on any element within the group and select "Ungroup":
Locking
Lock
This feature provides the capability to secure the icon position of an element within the context:
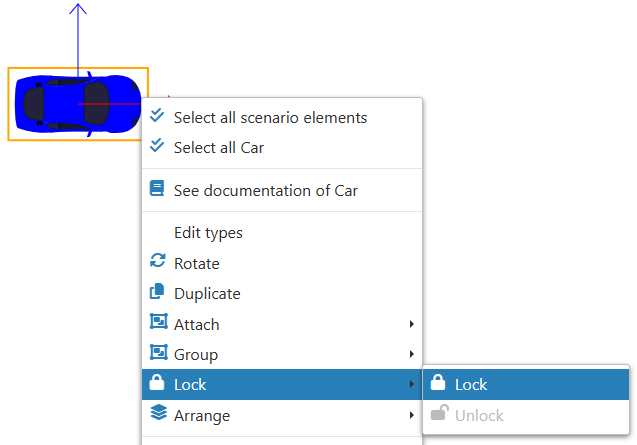
It's possible to lock the positions of multiple elements at once by selecting them together.
Unlock
Choose the element or elements you wish to unlock.
After selecting, right-click on any one of these elements and select "Unlock":
